Turning the IKEA Milsbo Cabinet into an Indoor Greenhouse
Hello!
If you’re new here, welcome.
My name is Rachel. I’m a Nutritionist, Personal Trainer, Wellness Coach (check me out on Instagram here), and I run a YouTube channel over here.
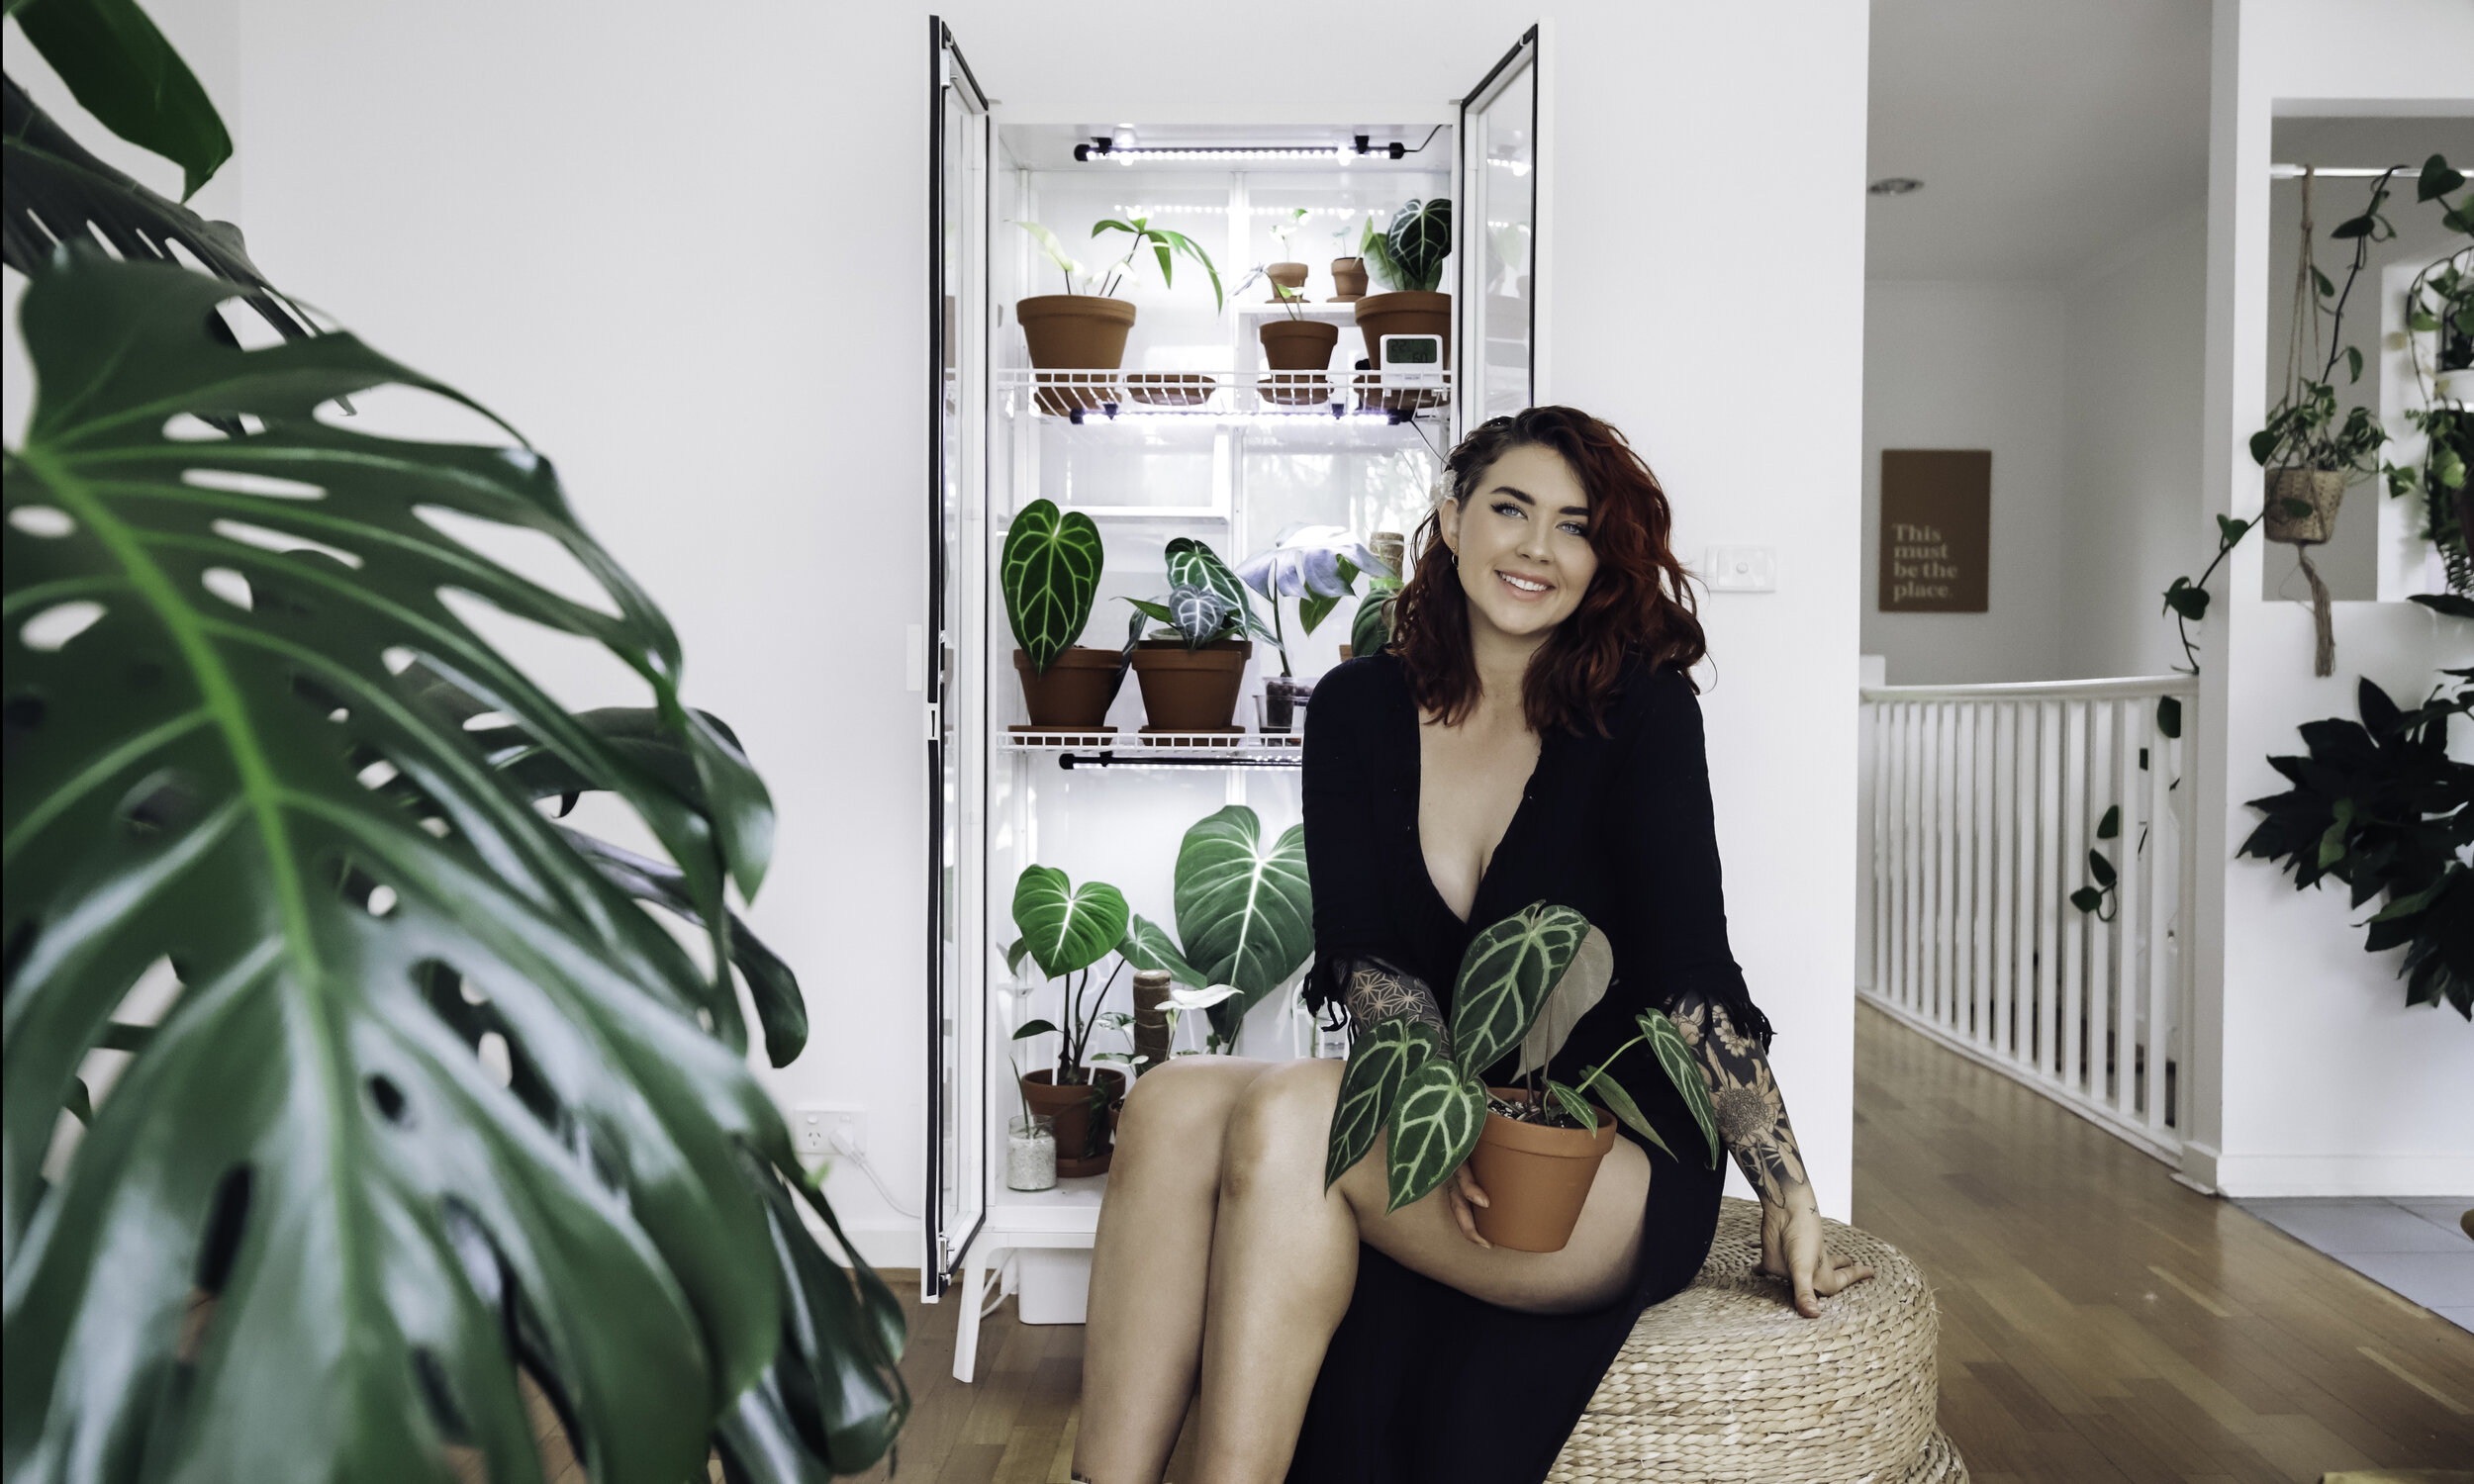
I absolutely adore plants - and I have way too many. At the start of the second wave of lockdown (I live in Melbourne) I decided that for one of my lockdown projects I wanted to kit out one of these Ikea Milsbo cabinets after seeing the Ikea Greenhouse Cabinet Instagram Page.
When I started assembling my cabinet there was one great post from Jo Loves Plants over on her blog detailing what products she used.
Many of the people featured on the Ikea Greenhouse Cabinet Instagram weren’t from Australia. It seems that the shelf brackets in the cabinet are different based on which country you purchase your Milsbo in. Additionally, lots of the cabinet DIYs I was reading used products that we cannot easily access in Austraila. So I decided that I would whip up this post where I link all my products and show you exactly the steps I took to achieve this finished product:
GENERAL INFORMATION
WHAT TYPE OF PLANTS GO IN HERE
If you’re new to house plants and you’re thinking if you need this cabinet or not, let me tell you.. you don’t need it. It is lovely and it’s now one of my favourite features in our living room - but it is absolutely not a necessity.
I began collecting house plants in 2014, and only now have just started dipping my toes into more rare (and therefore expensive) plants. These plants are harder to source, sometimes require more precise conditions to grow, and typically love humidity.

This cabinet is exclusively for my plants I would severely regret if I accidentally killed plants. So far int he cabinet I have placed my P. Florida Ghost, Anthurium Clareinervium, Anthurium Forgetii X and Crystallinium X, Variegated Burle Marx - just to name a few.
ABOUT MY CABINET
I wanted a cabinet that could practically run itself. It needed to:
Have fans that run 24/7,
Have a humidifier than runs for 10 minutes every second hour,
Have lights that turn themselves on/off automatically; and
Be able to be controlled from my Google Home Hub if needed.
Much of our house is connected to a Smart home set up, lights, Roomba, washing machine/dryer, etc, so I wanted this cabinet to also be an extension of that.
MY PLAN
On top of all the electronic requirements I needed for my cabinet, I also knew I needed to make some modifications to the standard cabinet.
The standard Milsbo has a few glass shelves, and the bottom shelf is made from 2 sheets of metal. In order to run cabling out the cabinet you have two choices:
Run your cables out through the front of the cabinet and risk not being able to shut your doors properly, or
Drill holes through the base of your cabinet to run your cables through.
I choice option 2.
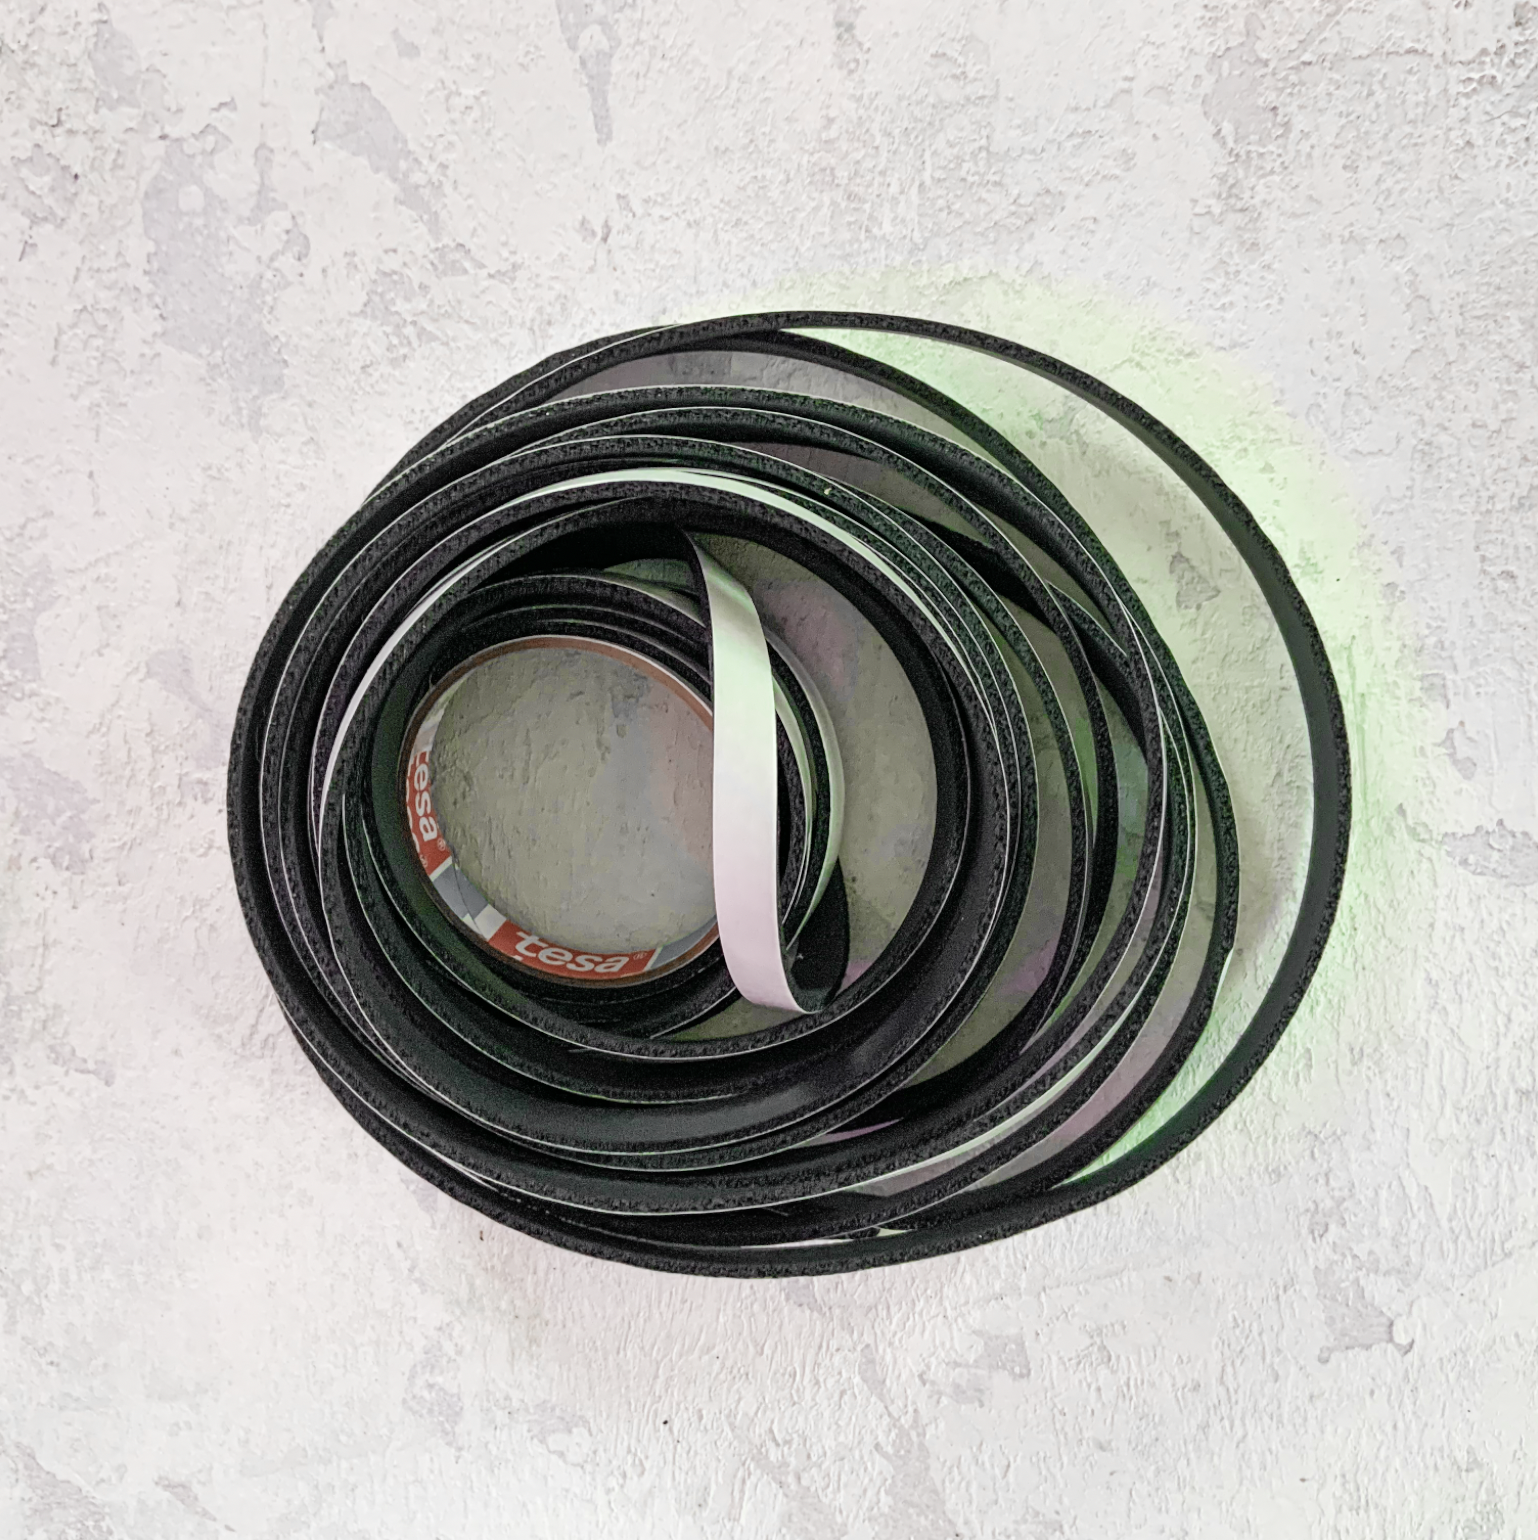
To keep the humidity in I decided to use foam sealing tape on the doors of the cabinet. I will talk you through all the steps I took below.
PURCHASING SUPPLIES
Because I’m located in Australia I had to source many products from Bunnings and eBay. If you’re in the US or UK there are many great options on Amazon that you can use to set up your cabinet. Unfortunately here many of the products I wanted on Amazon AU were only available from US sellers, which made the shipping very expensive, so I decided to look for the products locally so I wasn’t paying for product and shipping.
All the products linked in this blog post will be linked exactly from where I purchased them (or where I would purchase them if it’s something I already owned).
First I will link all the tools and materials you will need for this project. Some you will need to buy, some you may be able to borrow. I was able to borrow some tools etc, but I will also include prices for all materials and equipment. The prices listed are in AUD and I will link as many products as I can. Click the image to follow the link.
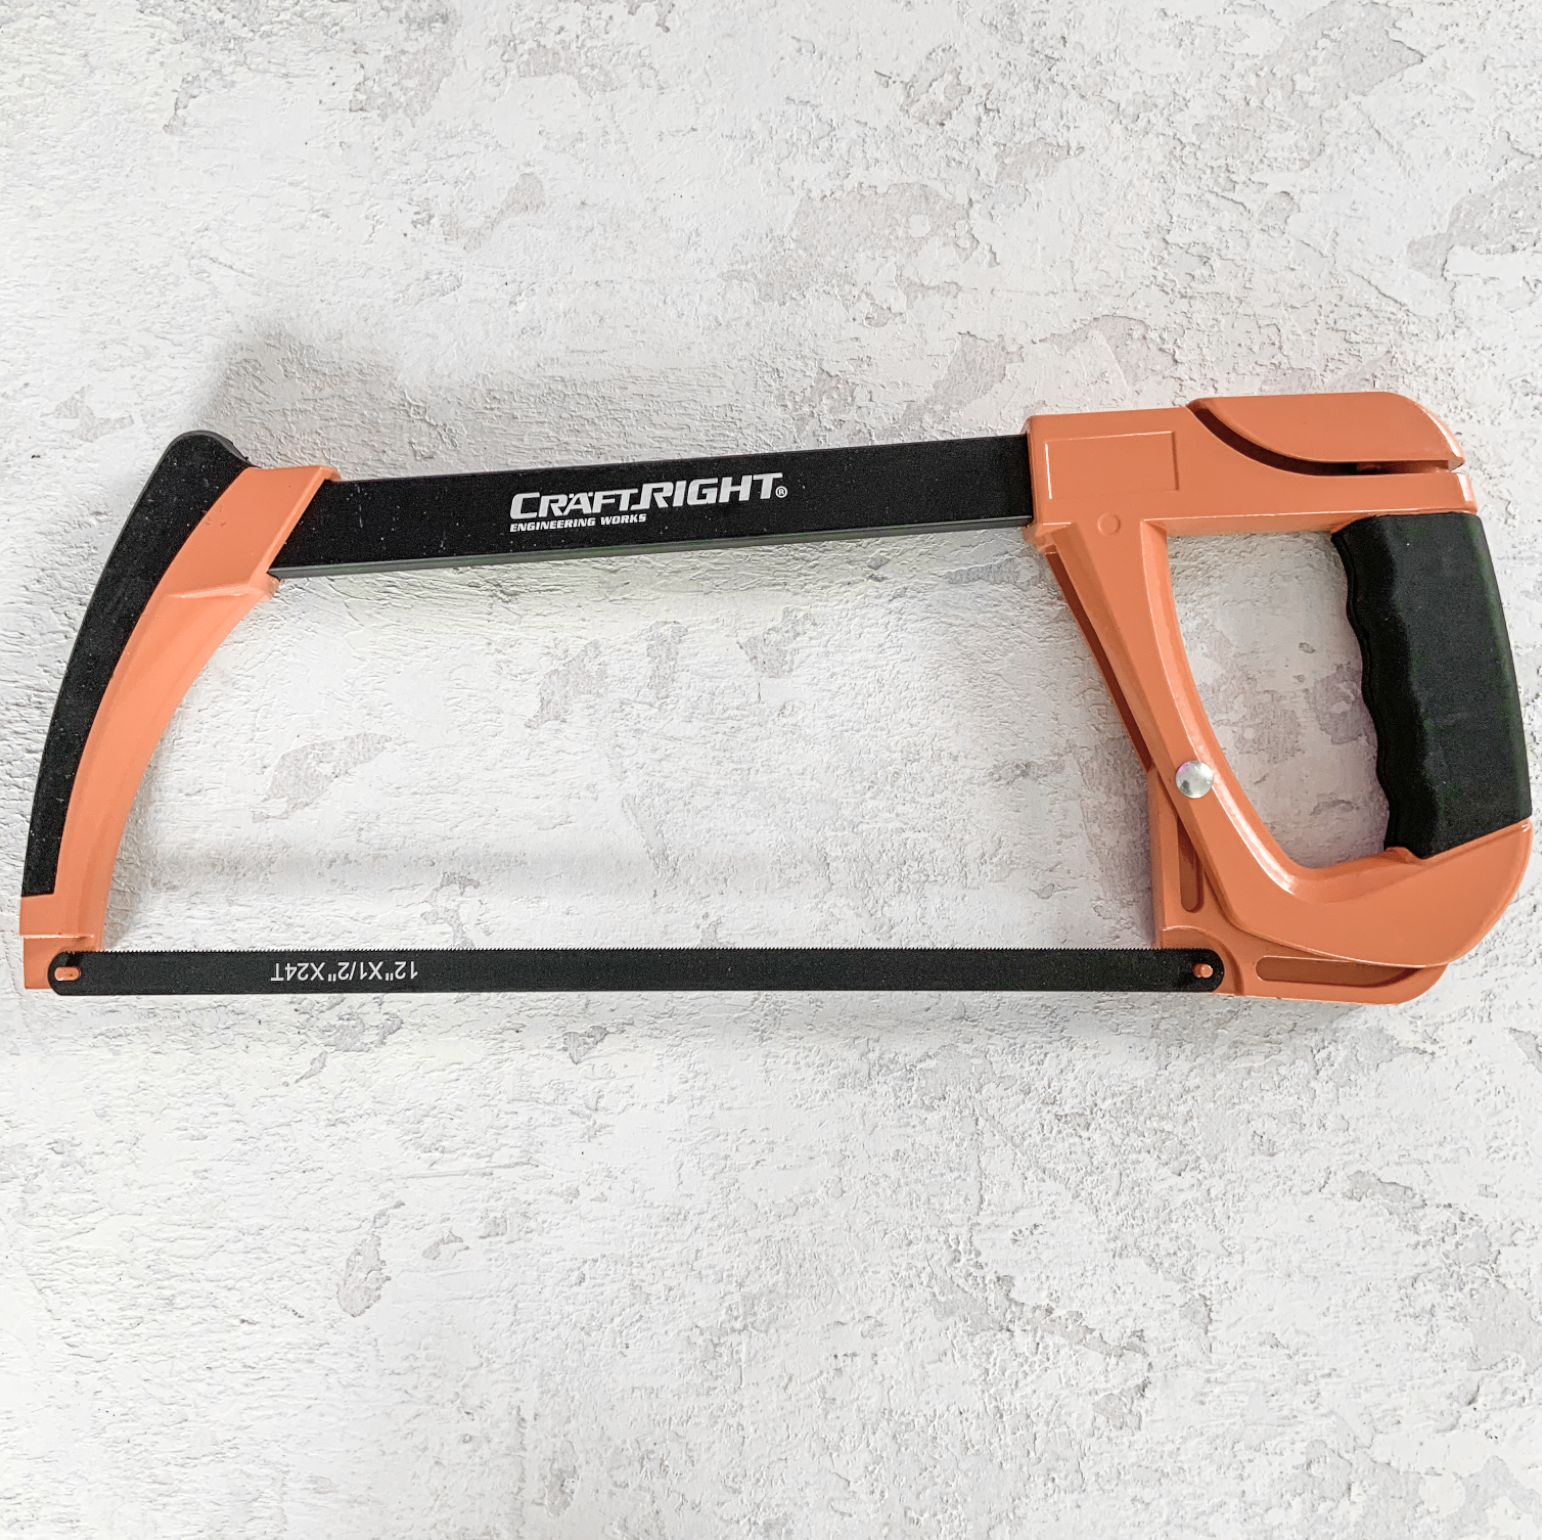
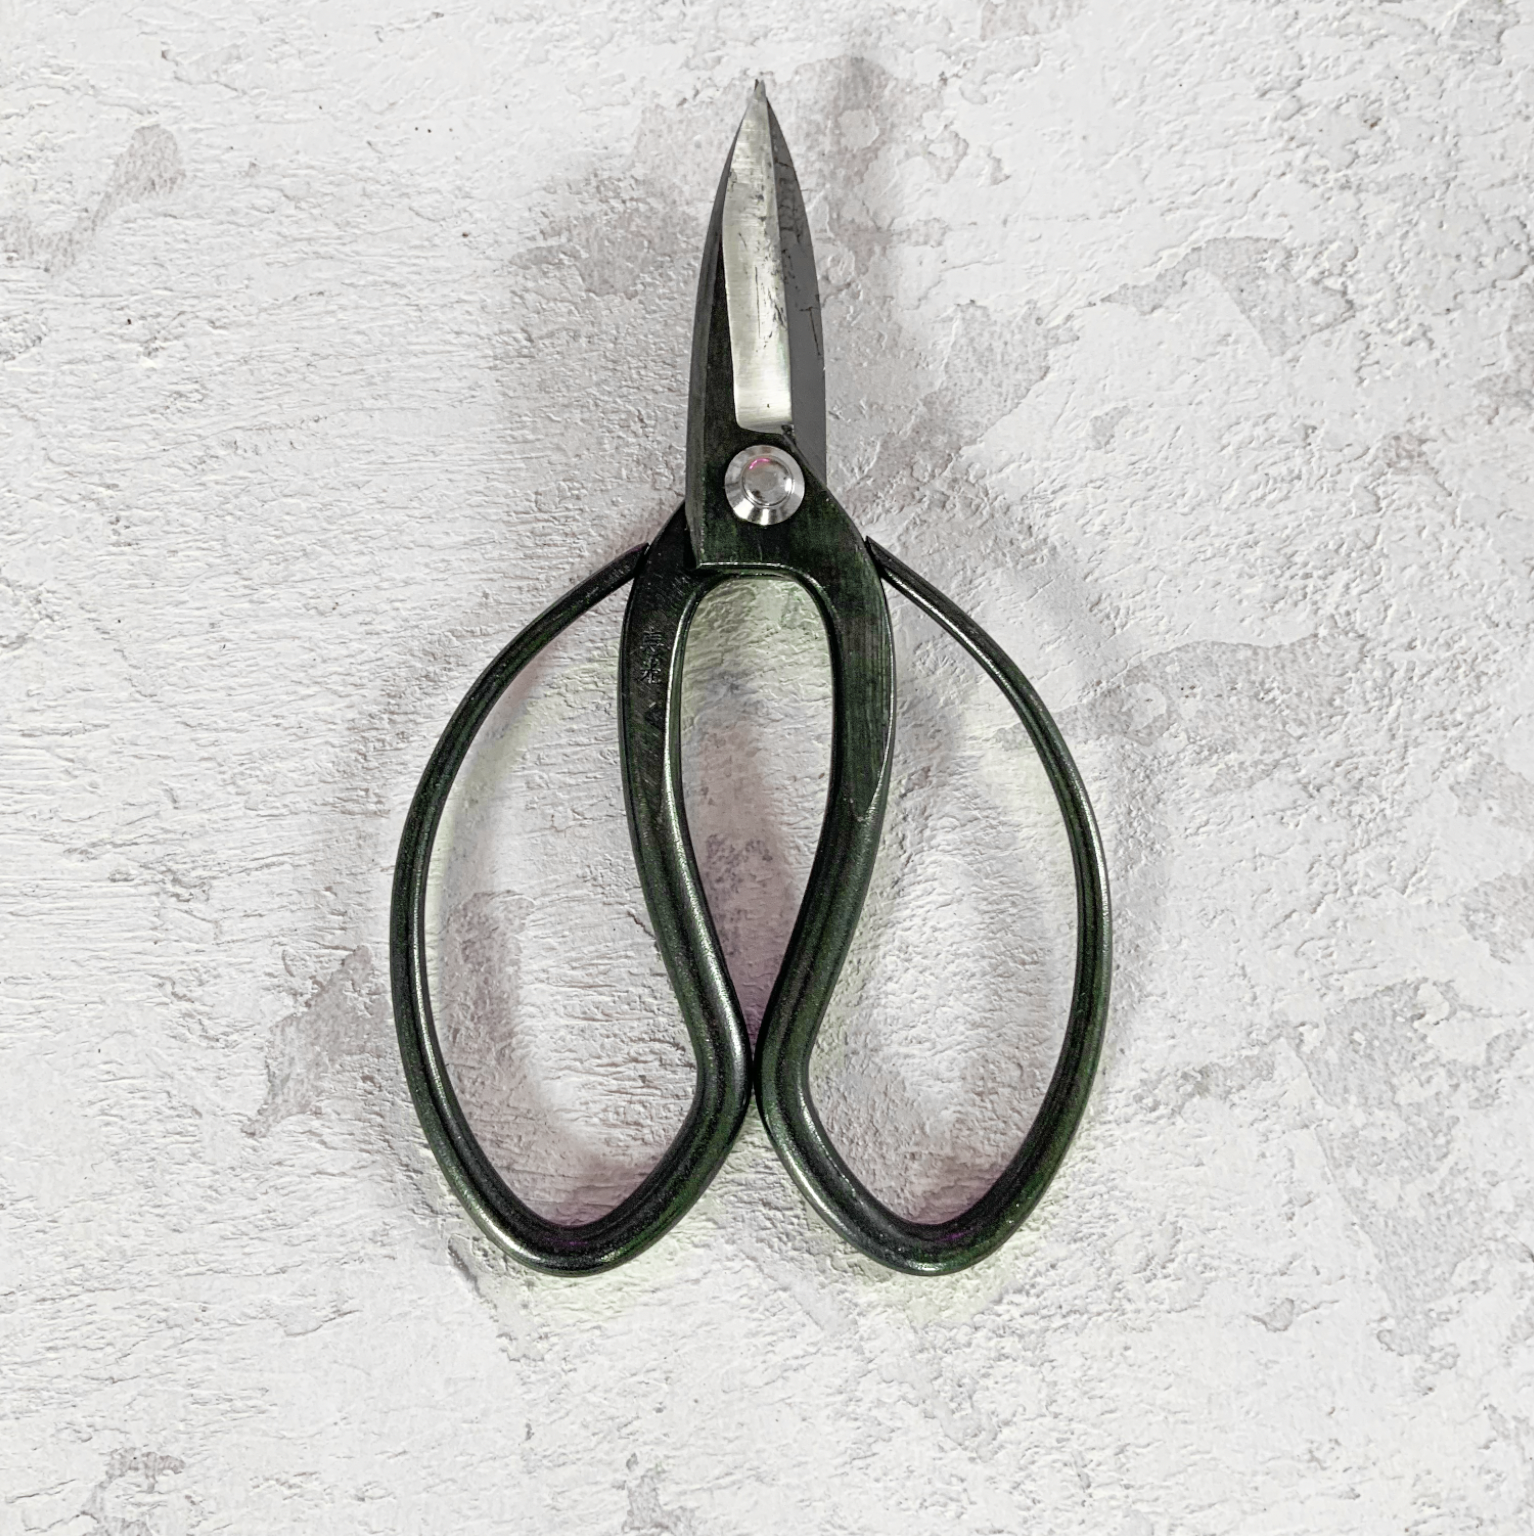
TOOLS
Total price in AUD if you have to buy everything listed: $64.94 (not including delivery fees if you order online)


MATERIALS
Anything optional will be marked with a *
Total price in AUD if you have to buy everything listed: $821.96 (not including delivery fees if you order online)
Total price without the optionals is $637.67 (not including delivery fees if you order online)


MODIFICATIONS
Any modifications I make to the cabinet I will list here prior to the instructions just so you have the most up to date information at the top of the post.
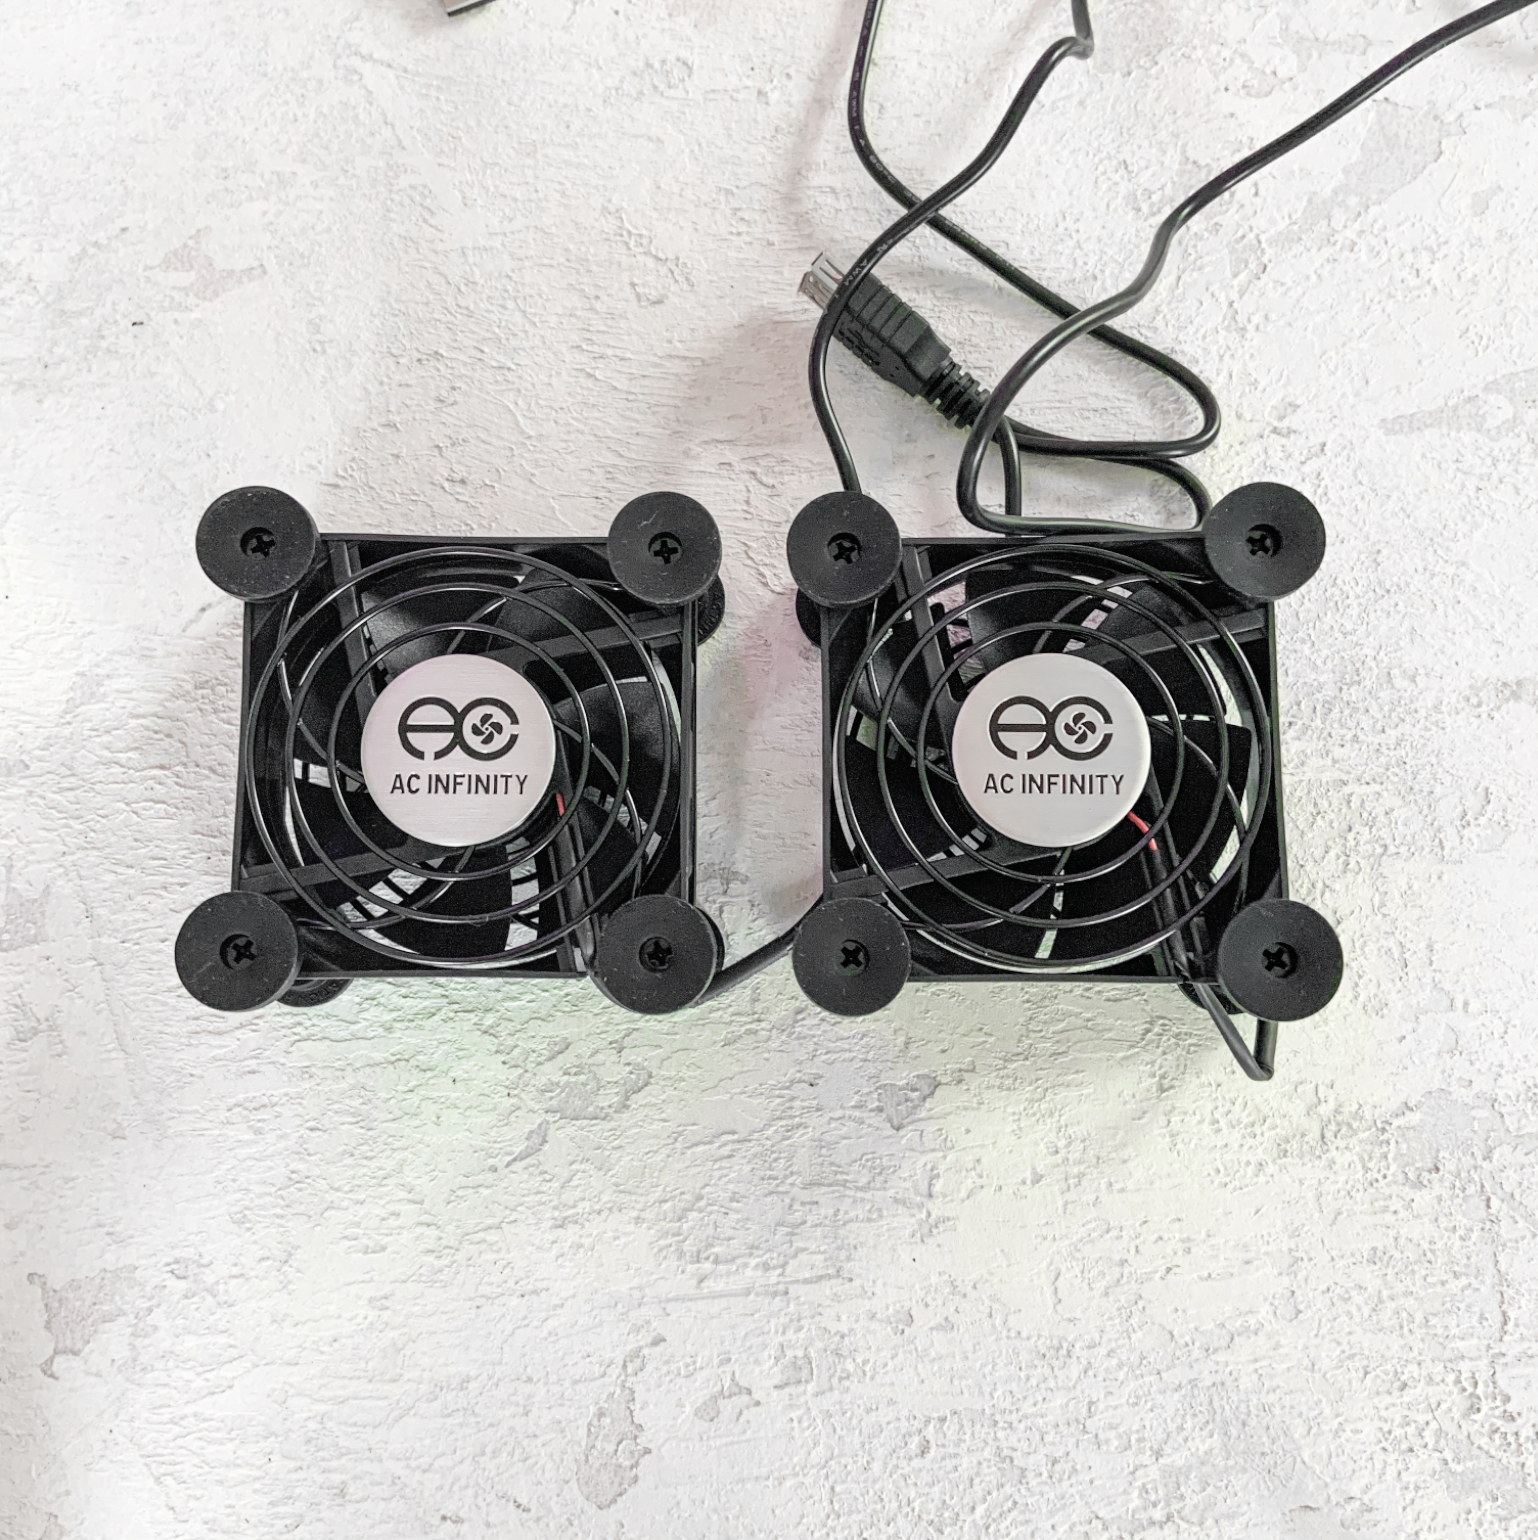
October 15 - 2 more AC Infinity 80mm fans arrived, so I installed them. There are now 4 fans in the cabinet.
INSTRUCTIONS
DRILLING THE HOLE
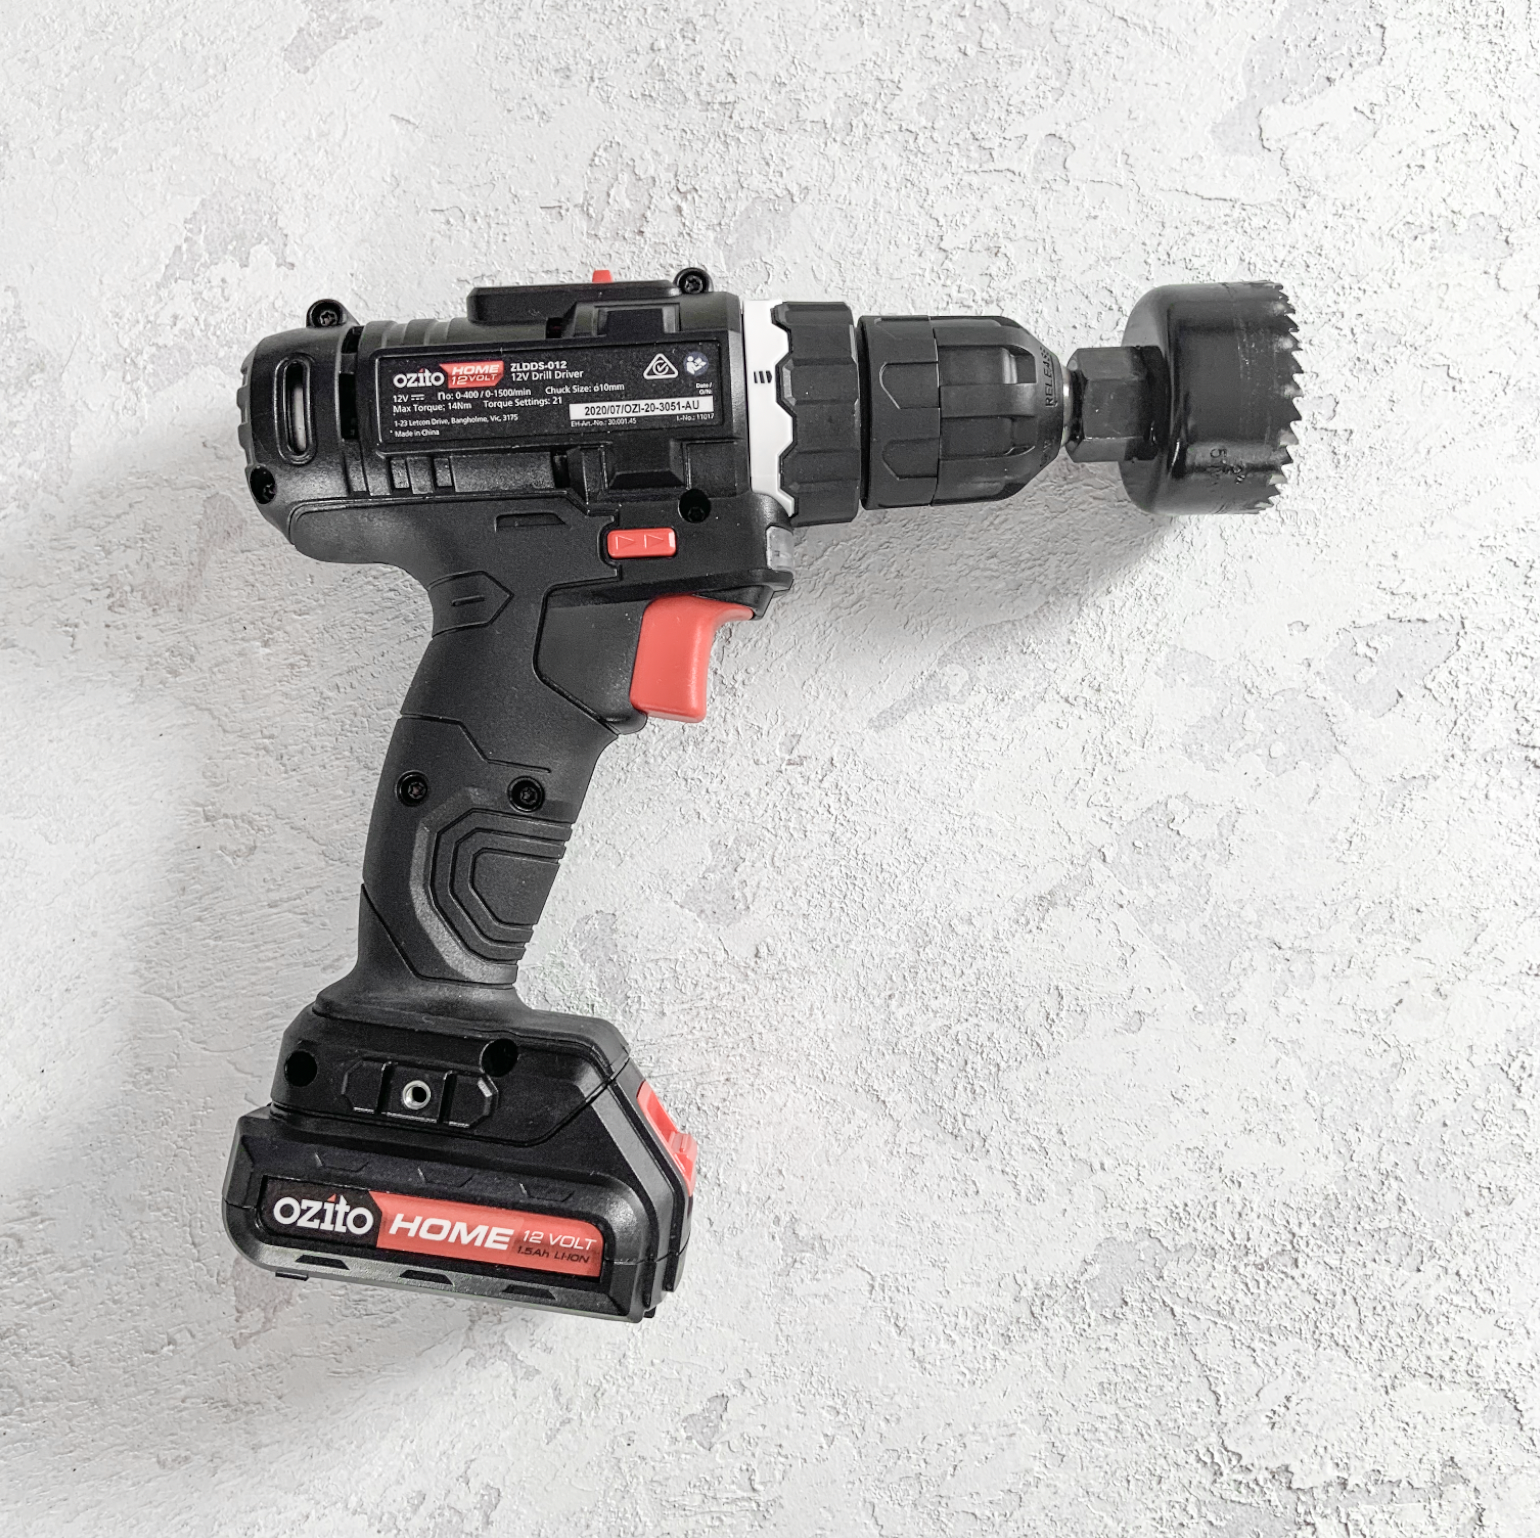
Assemble the base of the cabinet (the legs and the base metal plate). We want to drill a hole in the metal plates to run cables through. If you have a thick wooden board drill your hole through the plate prior to attaching the legs. I didn’t have that so I decided to attach to the legs first so they can hold it in place. Use a holesaw with a guide. I decided to place my hole in the front right-hand corner (to make it easy if I ever needed to get to anything once the cabinet was up and running).
I found it took approximately 30 minutes to drill the hole through the bottom sheet because I have a crappy cordless drill. Remember to wear eye protection, a mask (there will be little bits of metal flying around), and hearing protection if needed (I just used noise-cancelling AirPods).
The holesaw diameter I used was 50mm, if I was to build this again though I would recommend using a 60mm or 70mm holesaw because getting multiple cables through at the 50mm is a bit of a tight squeeze.
Drill settings:
Lowest speed
Highest torque

Drill settings

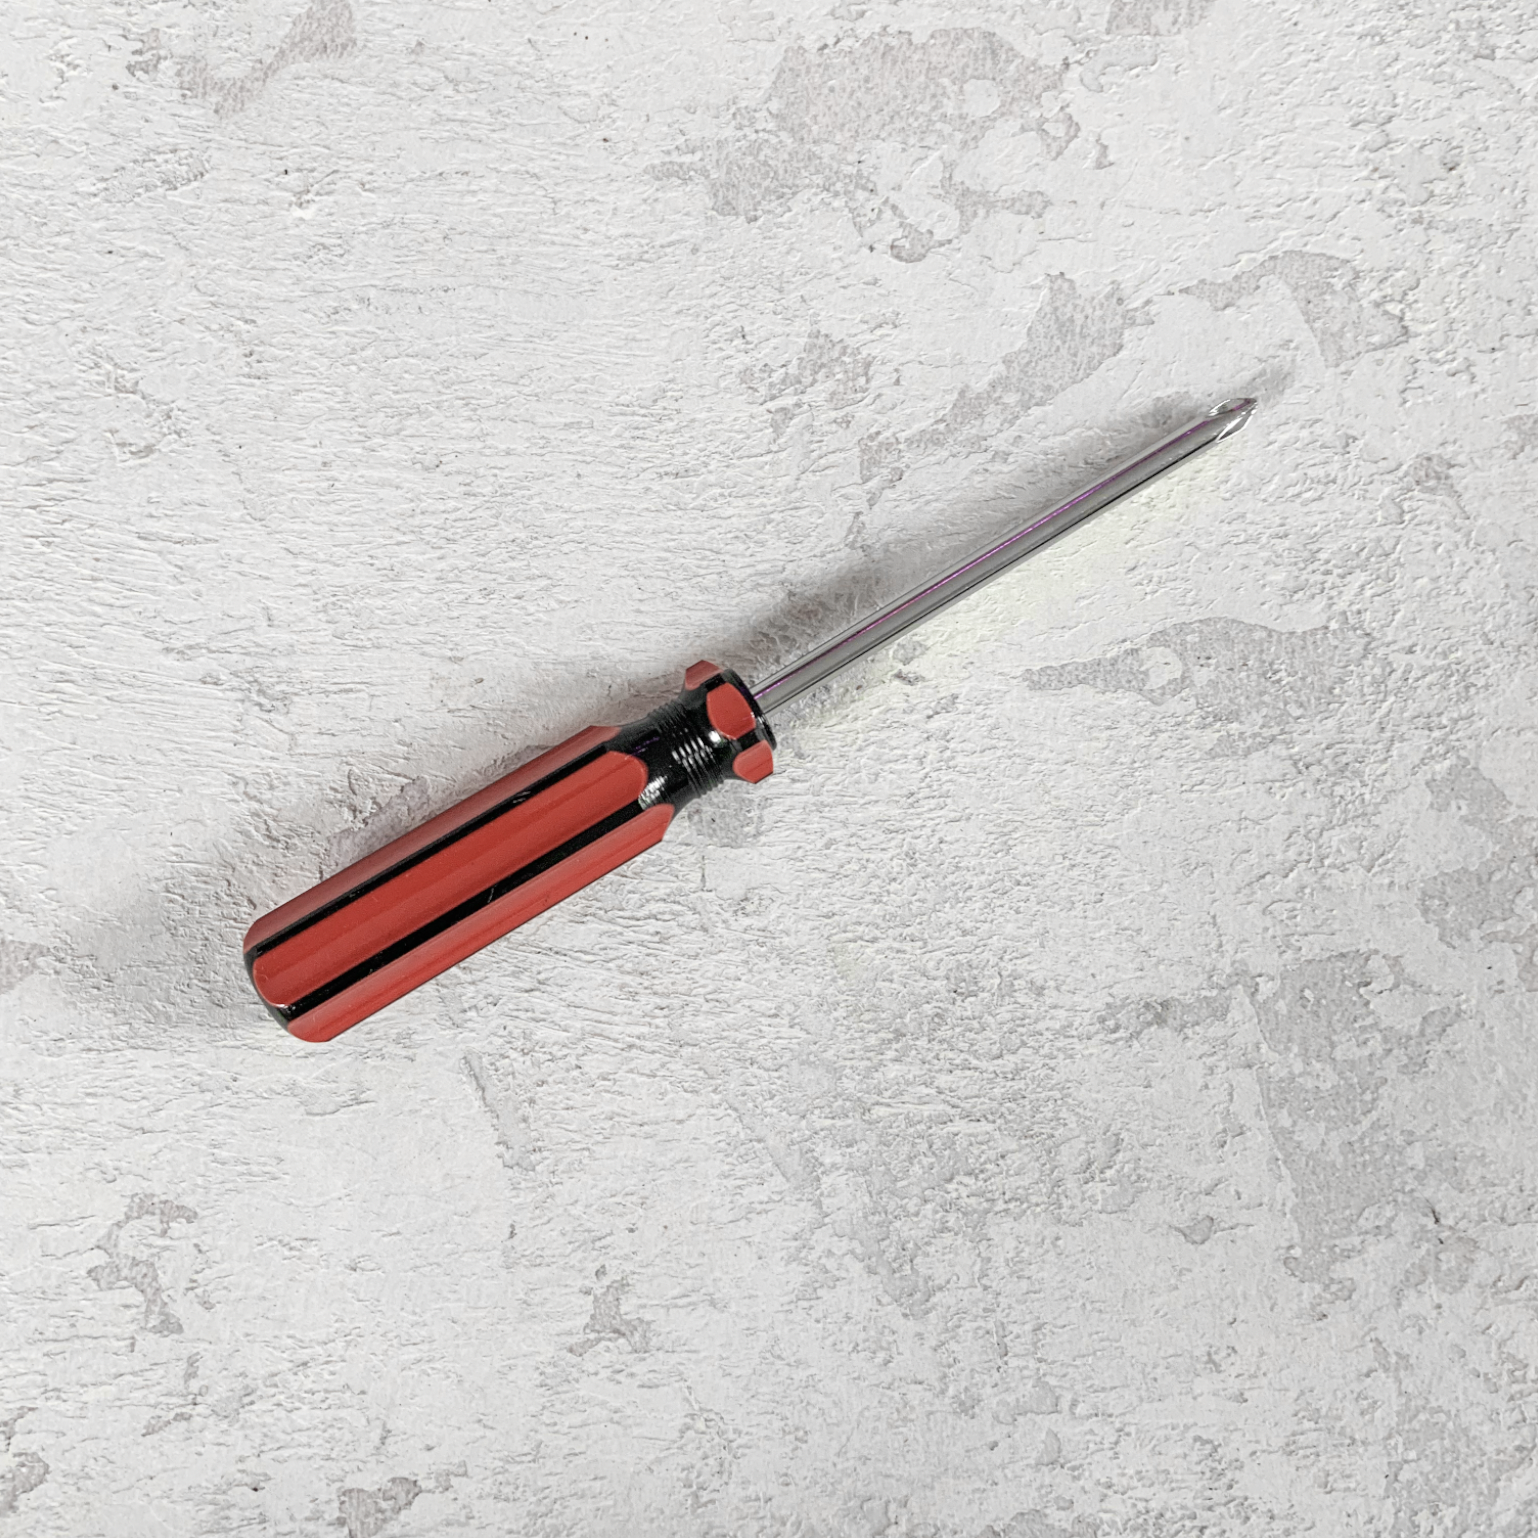
The shape of bit you will need to create your guide hole in the metal
Do not strongly press the drill into the metal. We want to apply soft/even pressure and slowly drill through. Pressing too hard or having the speed too high will cause too much heat in the drill. Make sure to keep your guide screw on the drill so that the holesaw bit does not wander.

Now we can attach the vertical beams.
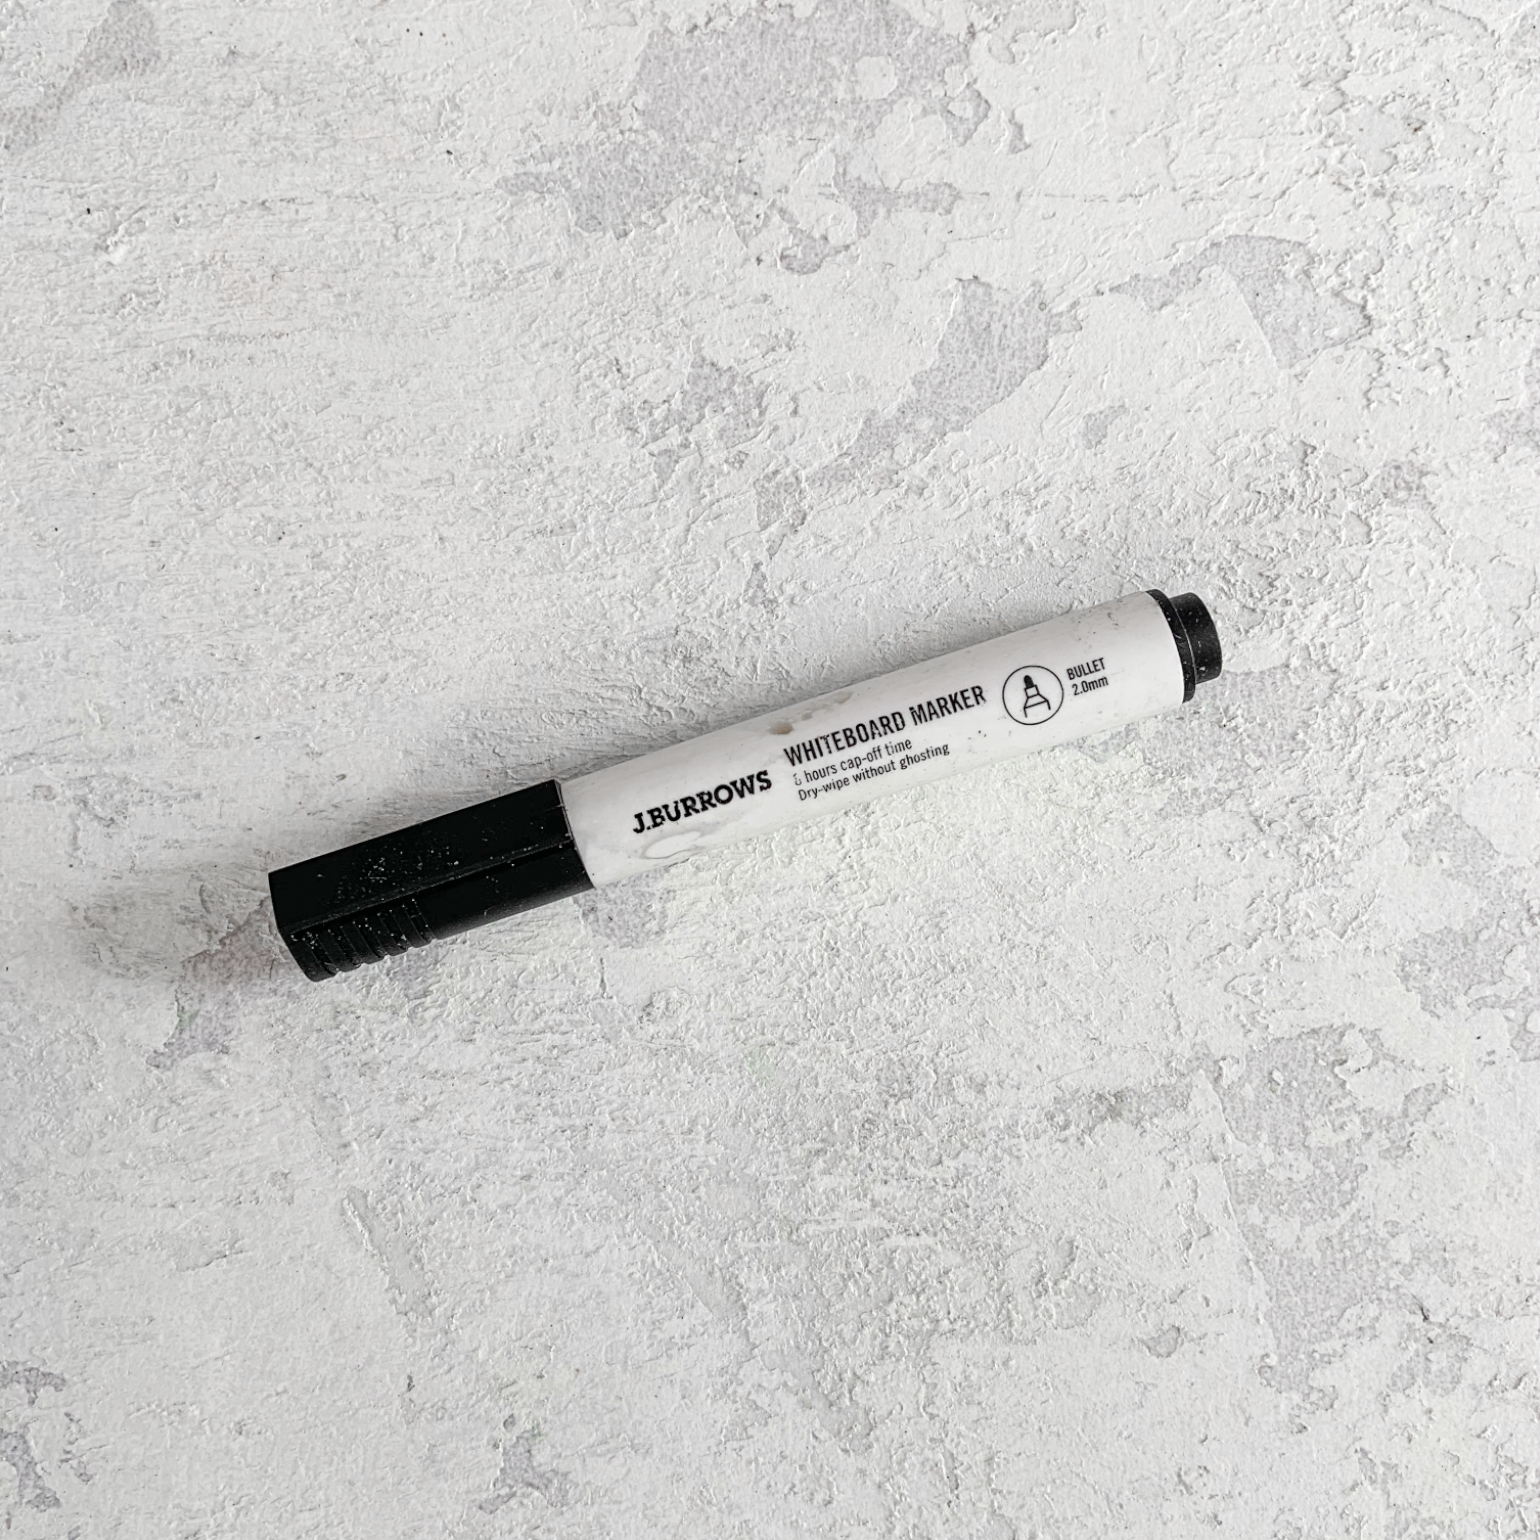
We have a second, cosmetic metal layer to go on top of the base. I used a measuring tape and whiteboard marker to measure and mark the centre of the lower hole and replicate that on the second metal sheet.

Again, if you have a wooden board to drill into drill both your metal sheets at once. Because I was working with minimal equipment I decided to drill as I went.
Drill a guide hole through the second metal sheet and use the holesaw to drill the larger hole again.

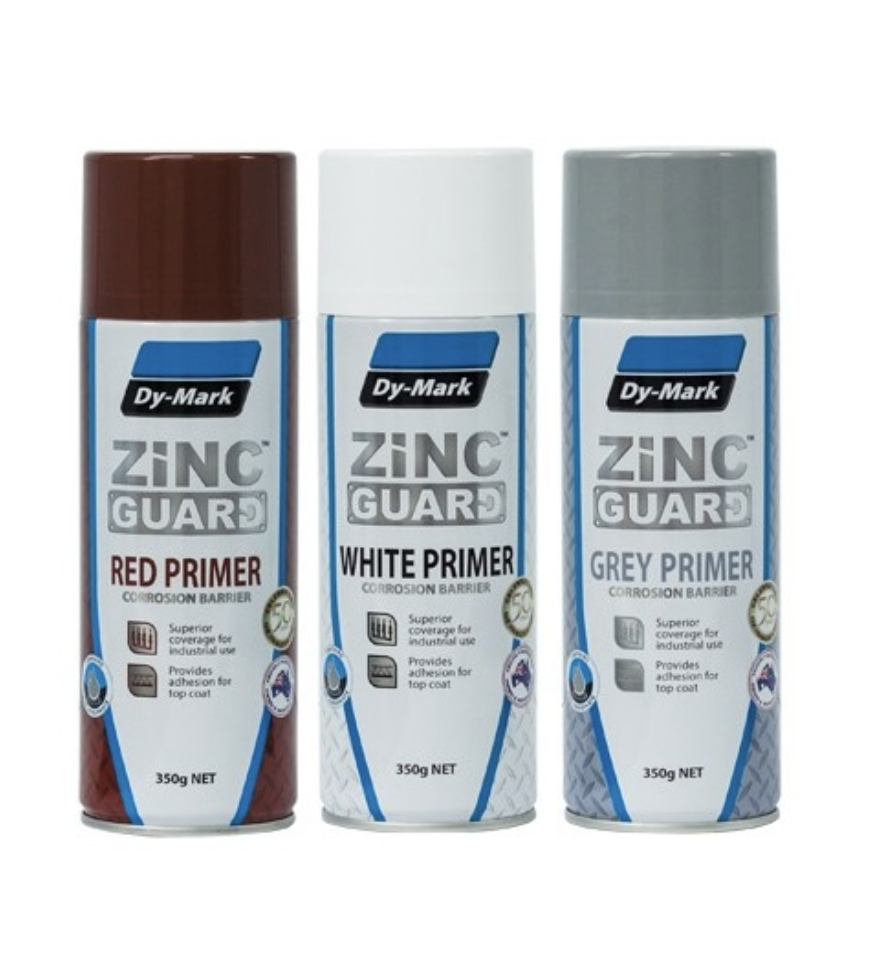
RUST-PROOFING
Once the second hole is drilled use a spray primer (in white) and a rust-protection white spray paint (allow dry time between layers). Because your cabinet is going to have moisture and humidity we want to rust-proof any exposed metal with a zinc paint. At the time of assembly my primer and paint had not arrived - so I sprayed mine later (pandemic postal delays lol).
After this is dried I’d recommend using a rubber lining on the hole you’ve cut to protect your hands, or adding a plastic grommet.
LIGHT SET UP
Finish assembling your cabinet with the roof and glass panels. Then attach the doors as per IKEA instructions.

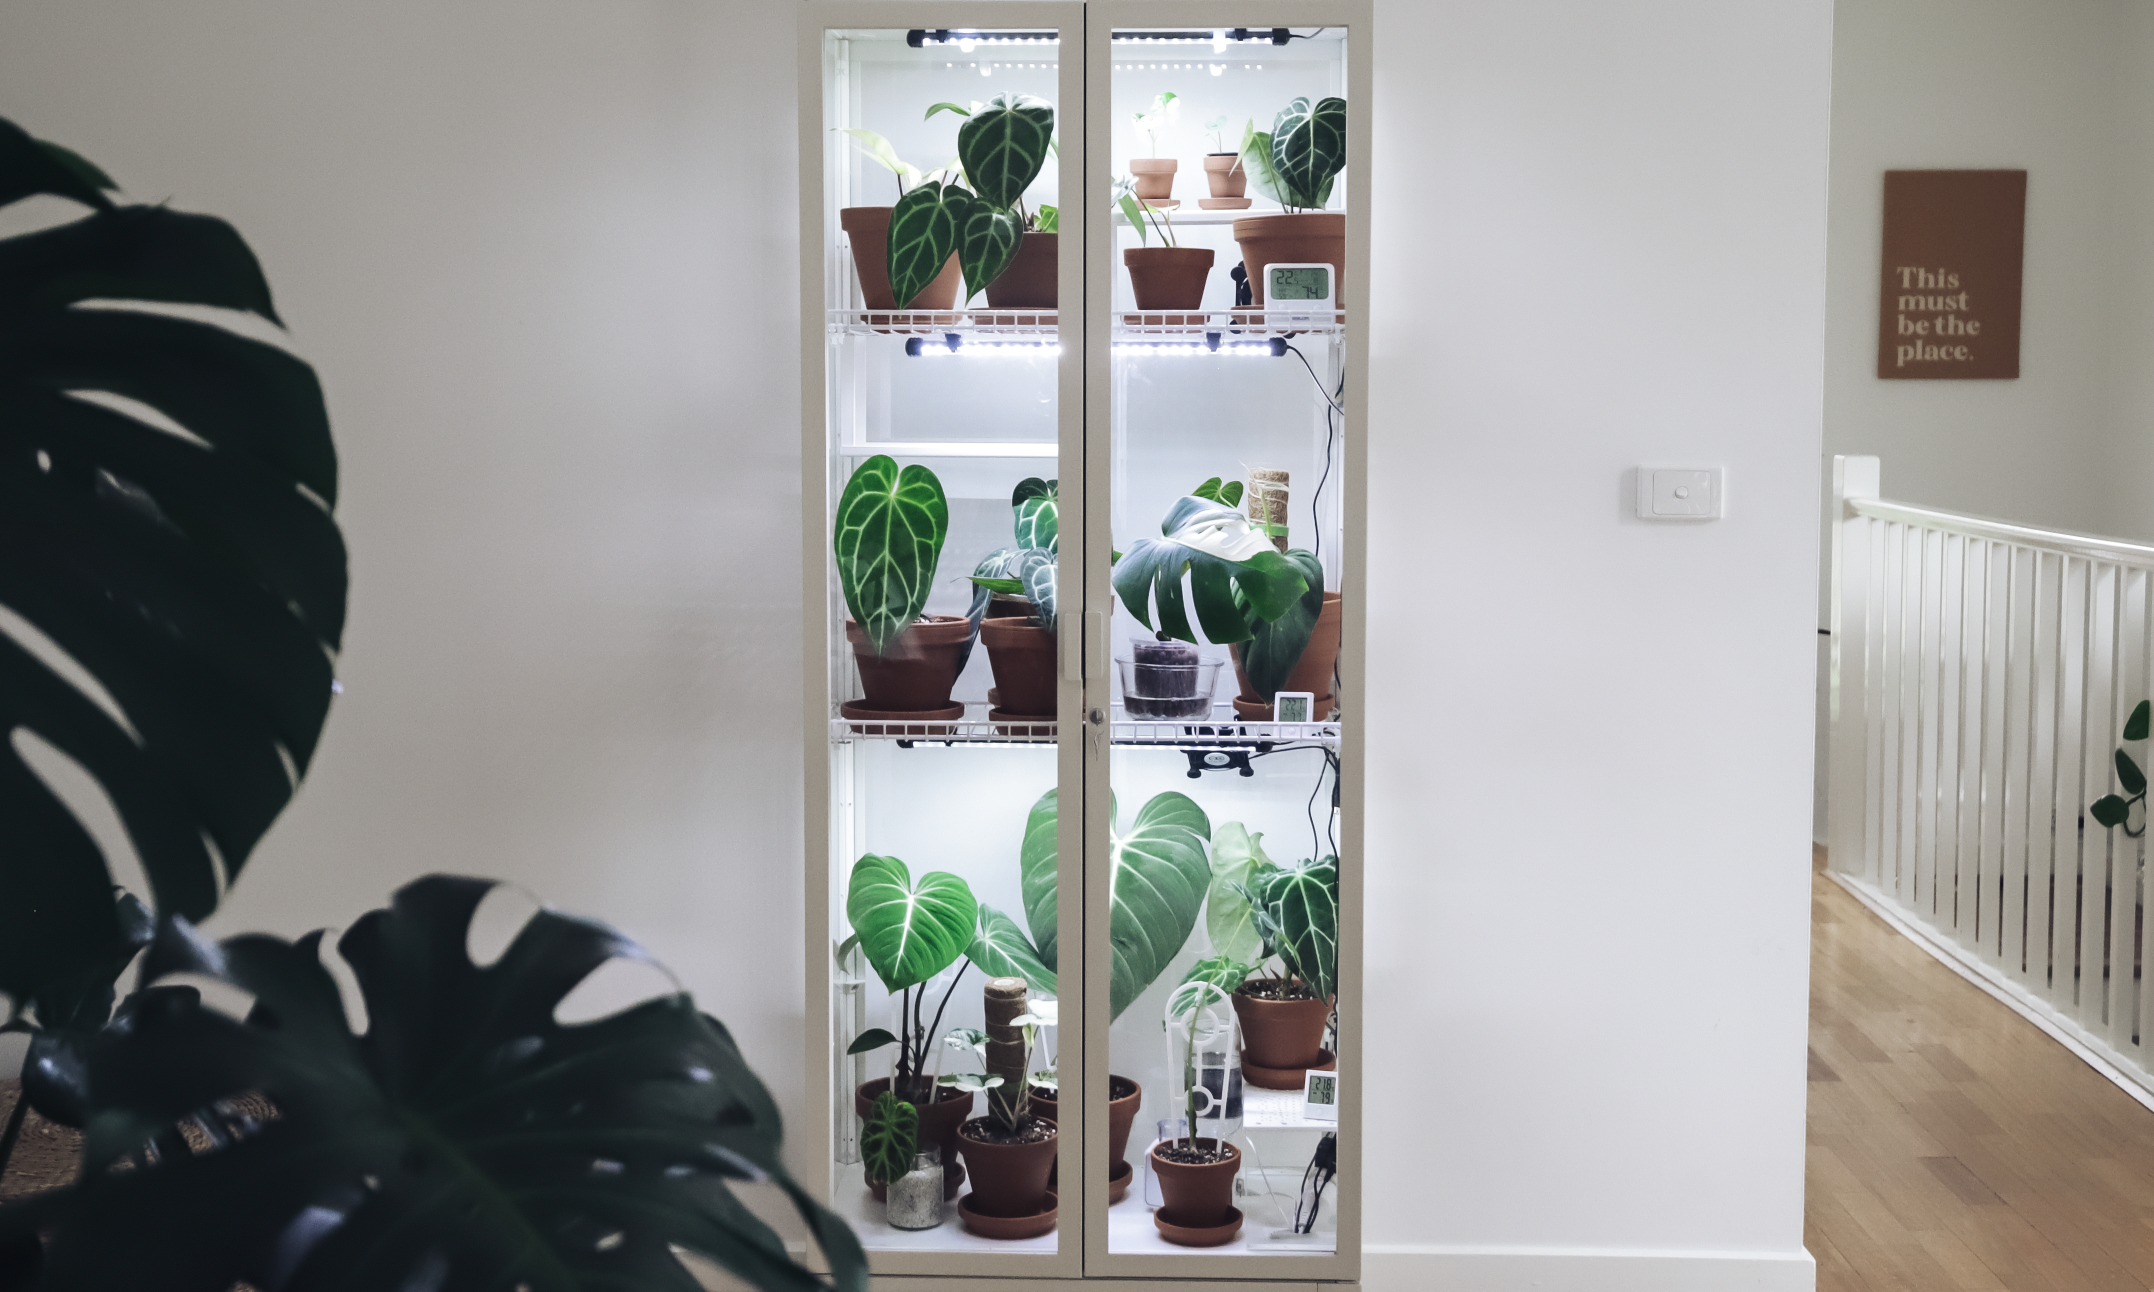
Now we are going to start decking it out. I wanted to use wire shelving to help increase air circulation to deter fungal growth on my plants. This is optional but I would recommend it. If you’re going to go to all this effort to set up the cabinet just take the extra step.
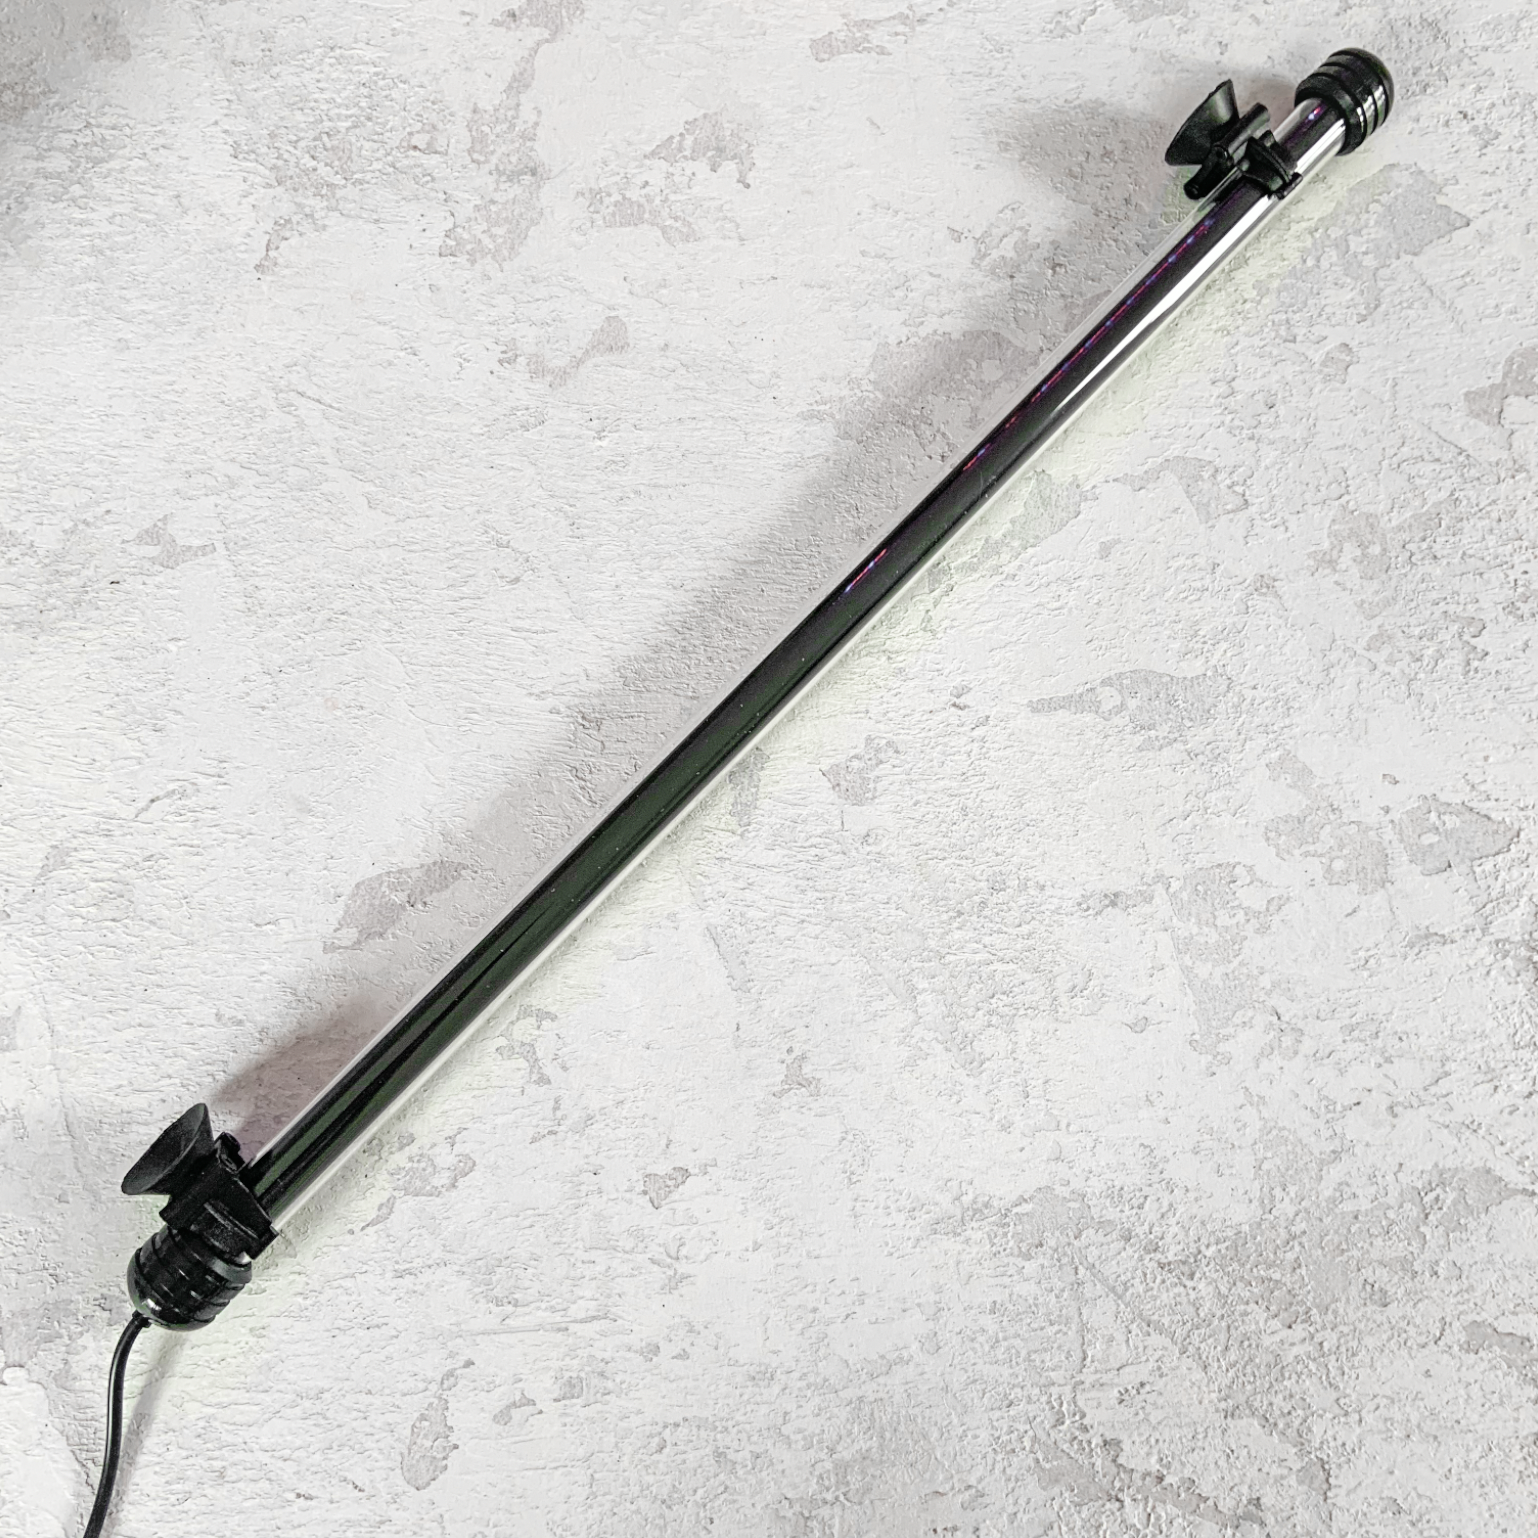
Before installing the wire shelving I set up my top light. For this I used a white aquarium LED 48cm long. A traditional ‘grow’ light is usually a combination of red and blue LEDs, giving a purple look. I have two of these lights set up in my kitchen and bedroom and knew I did not want a purple cabinet! So a full spectrum aquarium LED will do the job, and they’re cheaper.
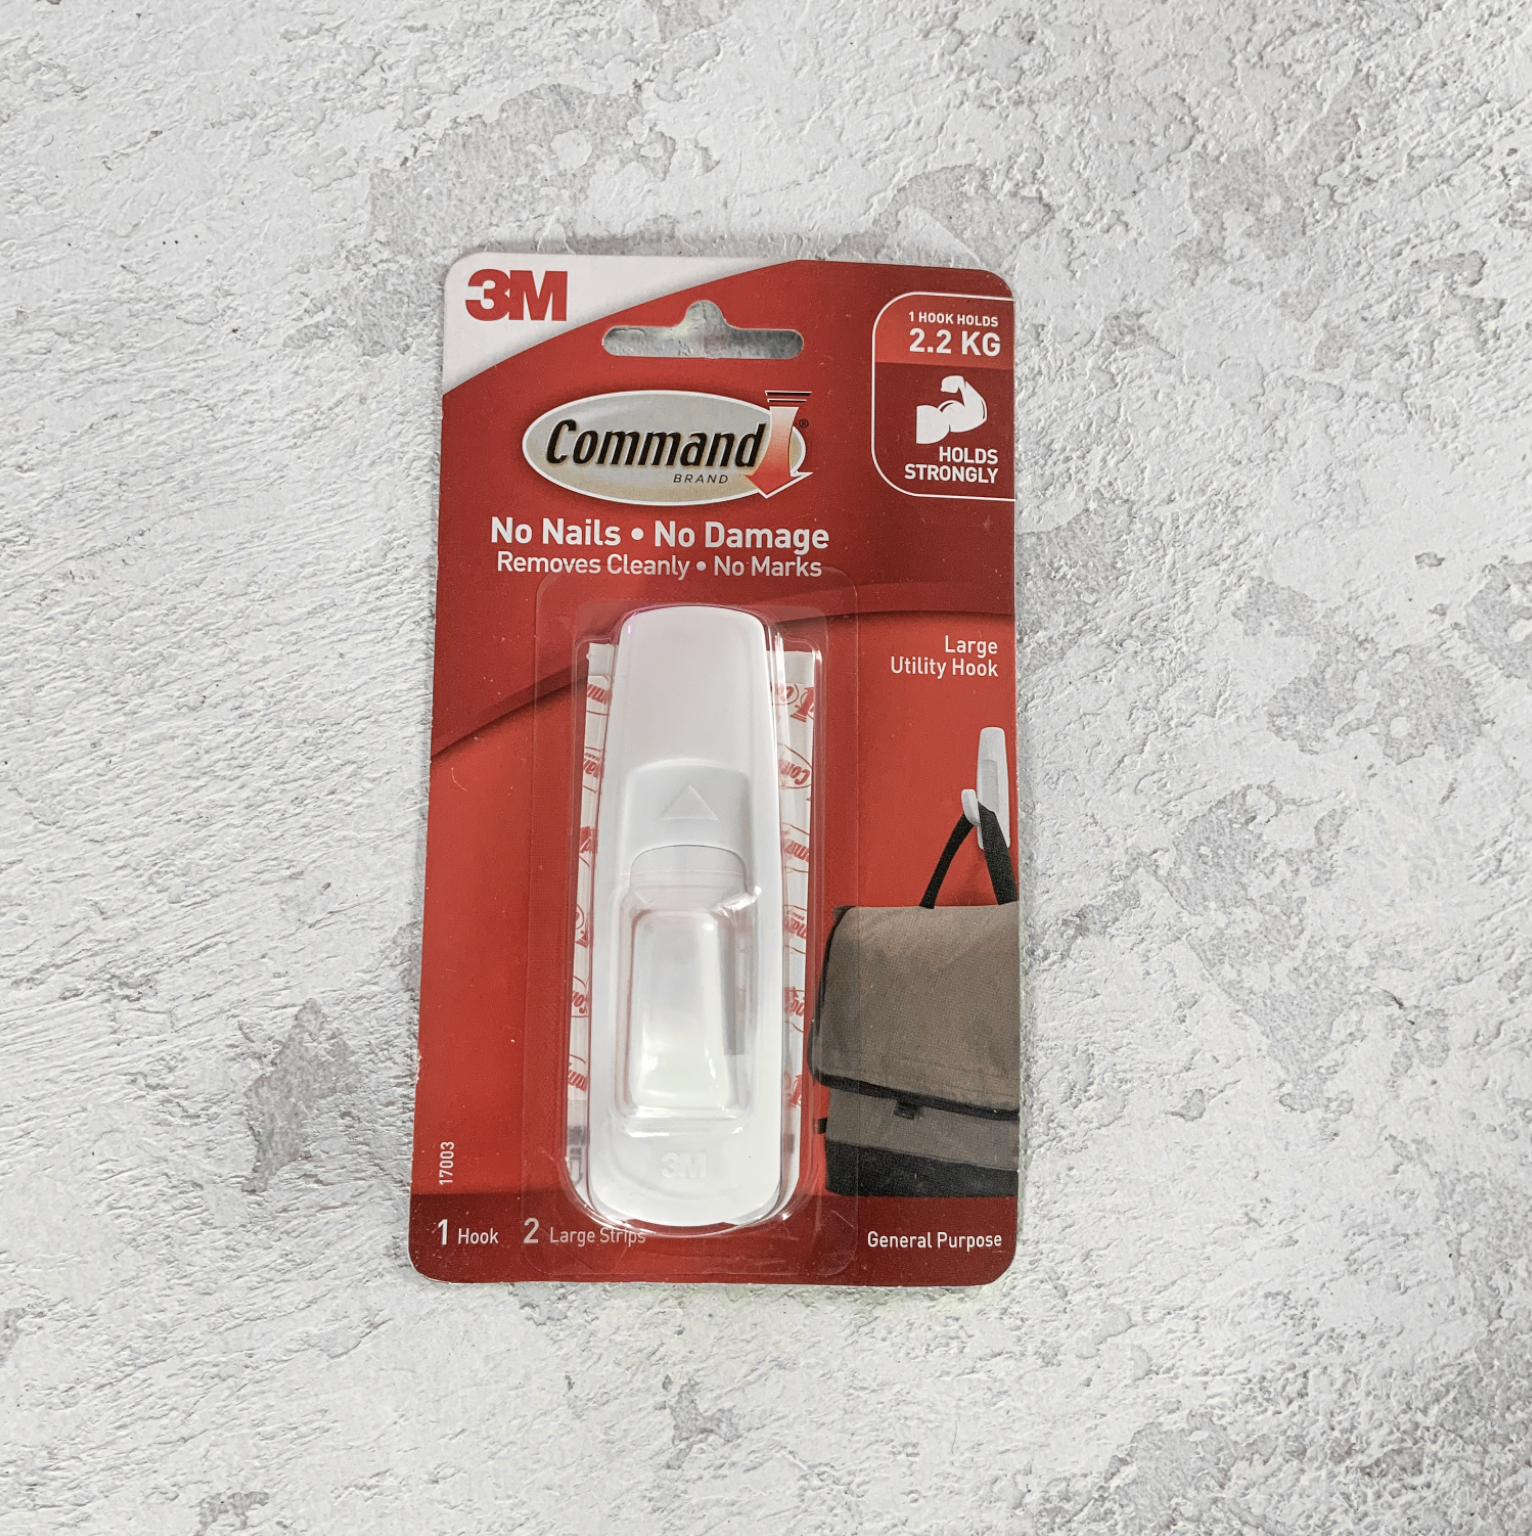
Use a super strong double sided tape and some 3M hooks to adhere the top light to the roof of the cabinet. Once we’ve installed the wire shelving we’ll use zip ties to attach a second light.

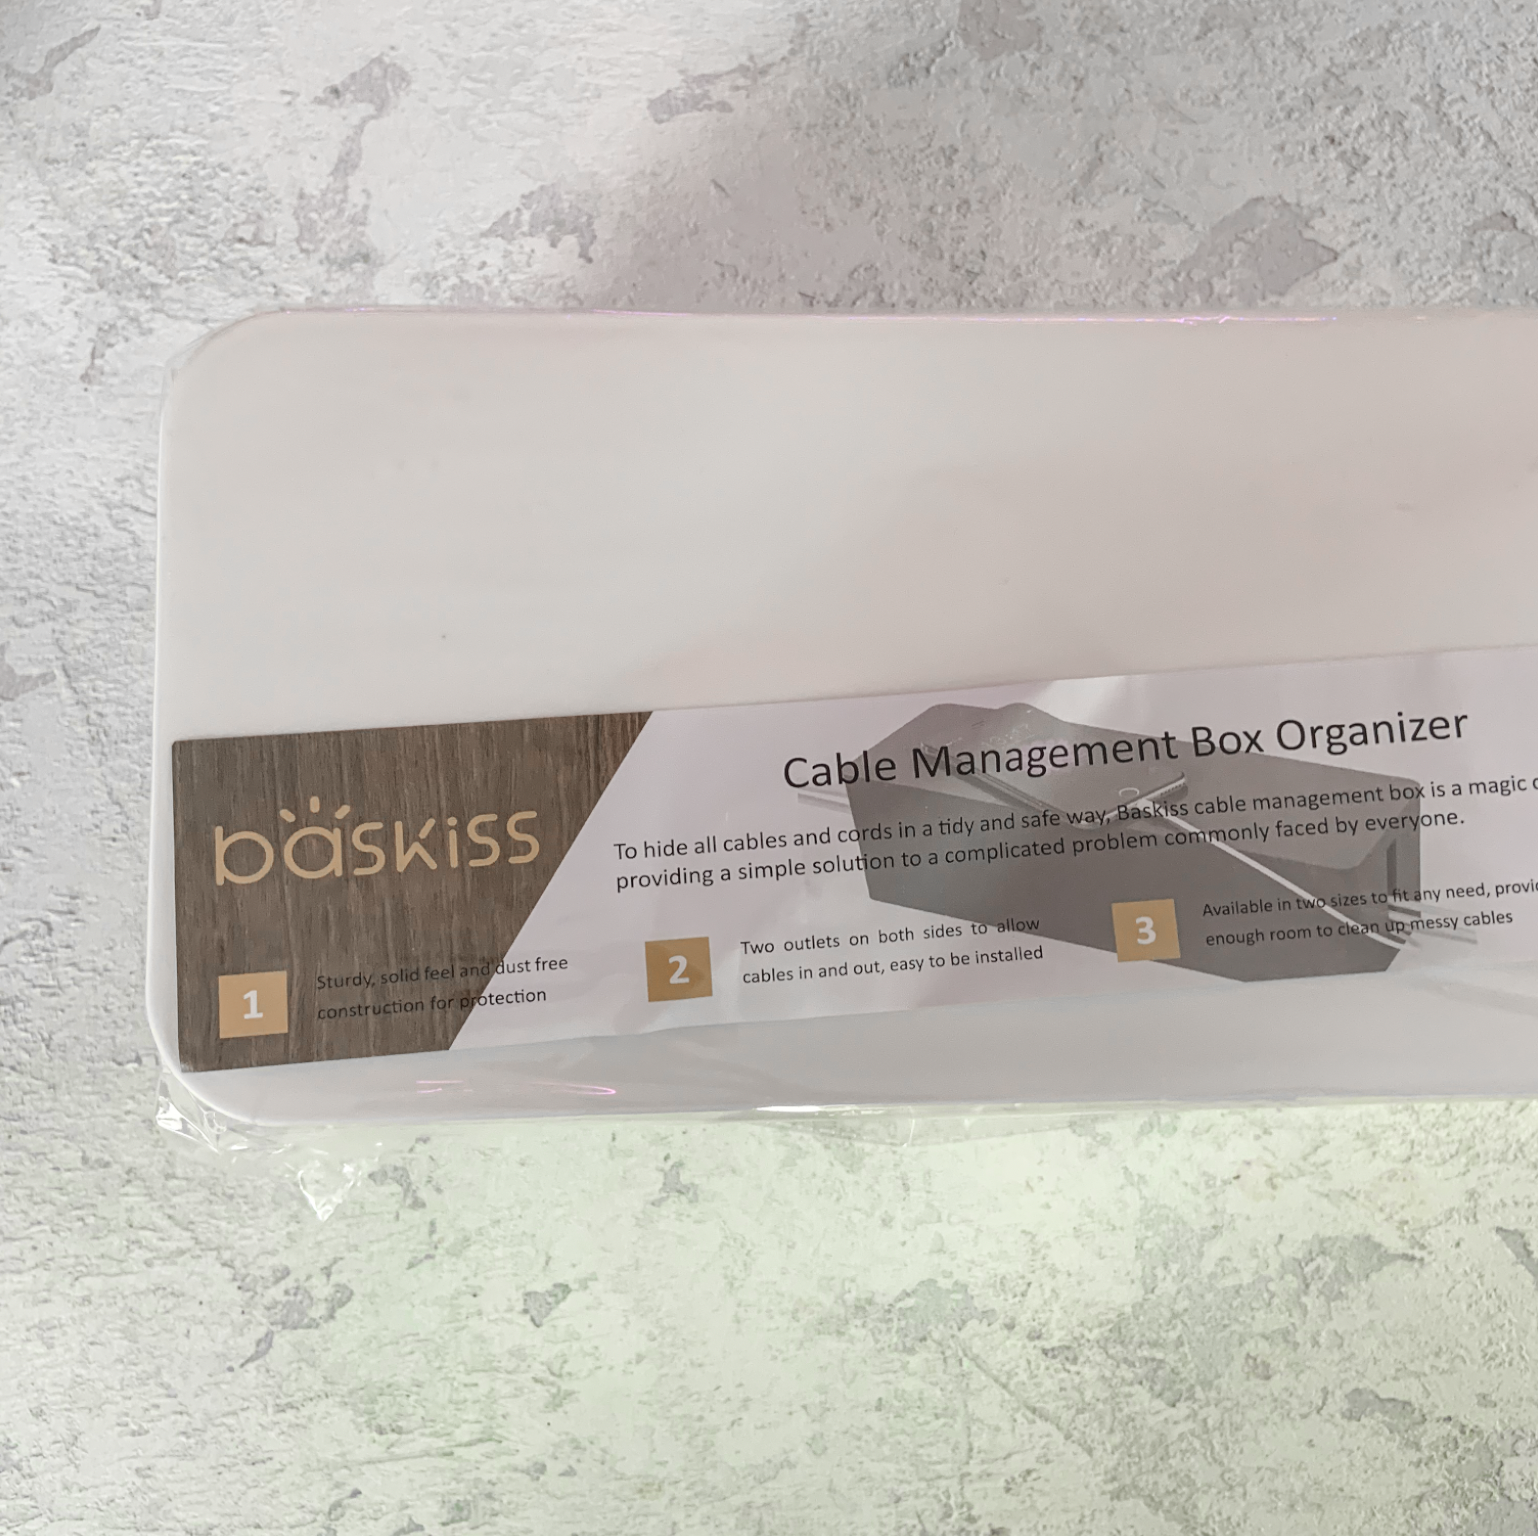
To help hide some the cabling I put a large cable management box underneath the cabinet to hold power boards and smart plugs.
After using the double-sided super strong tape and 3M Command hooks to adhere the top light to the roof of the cabinet I used cable management clips to run the wire along the front right hand corner. Do this before putting any shelving in so the wire can sit flush along the side of the cabinet.

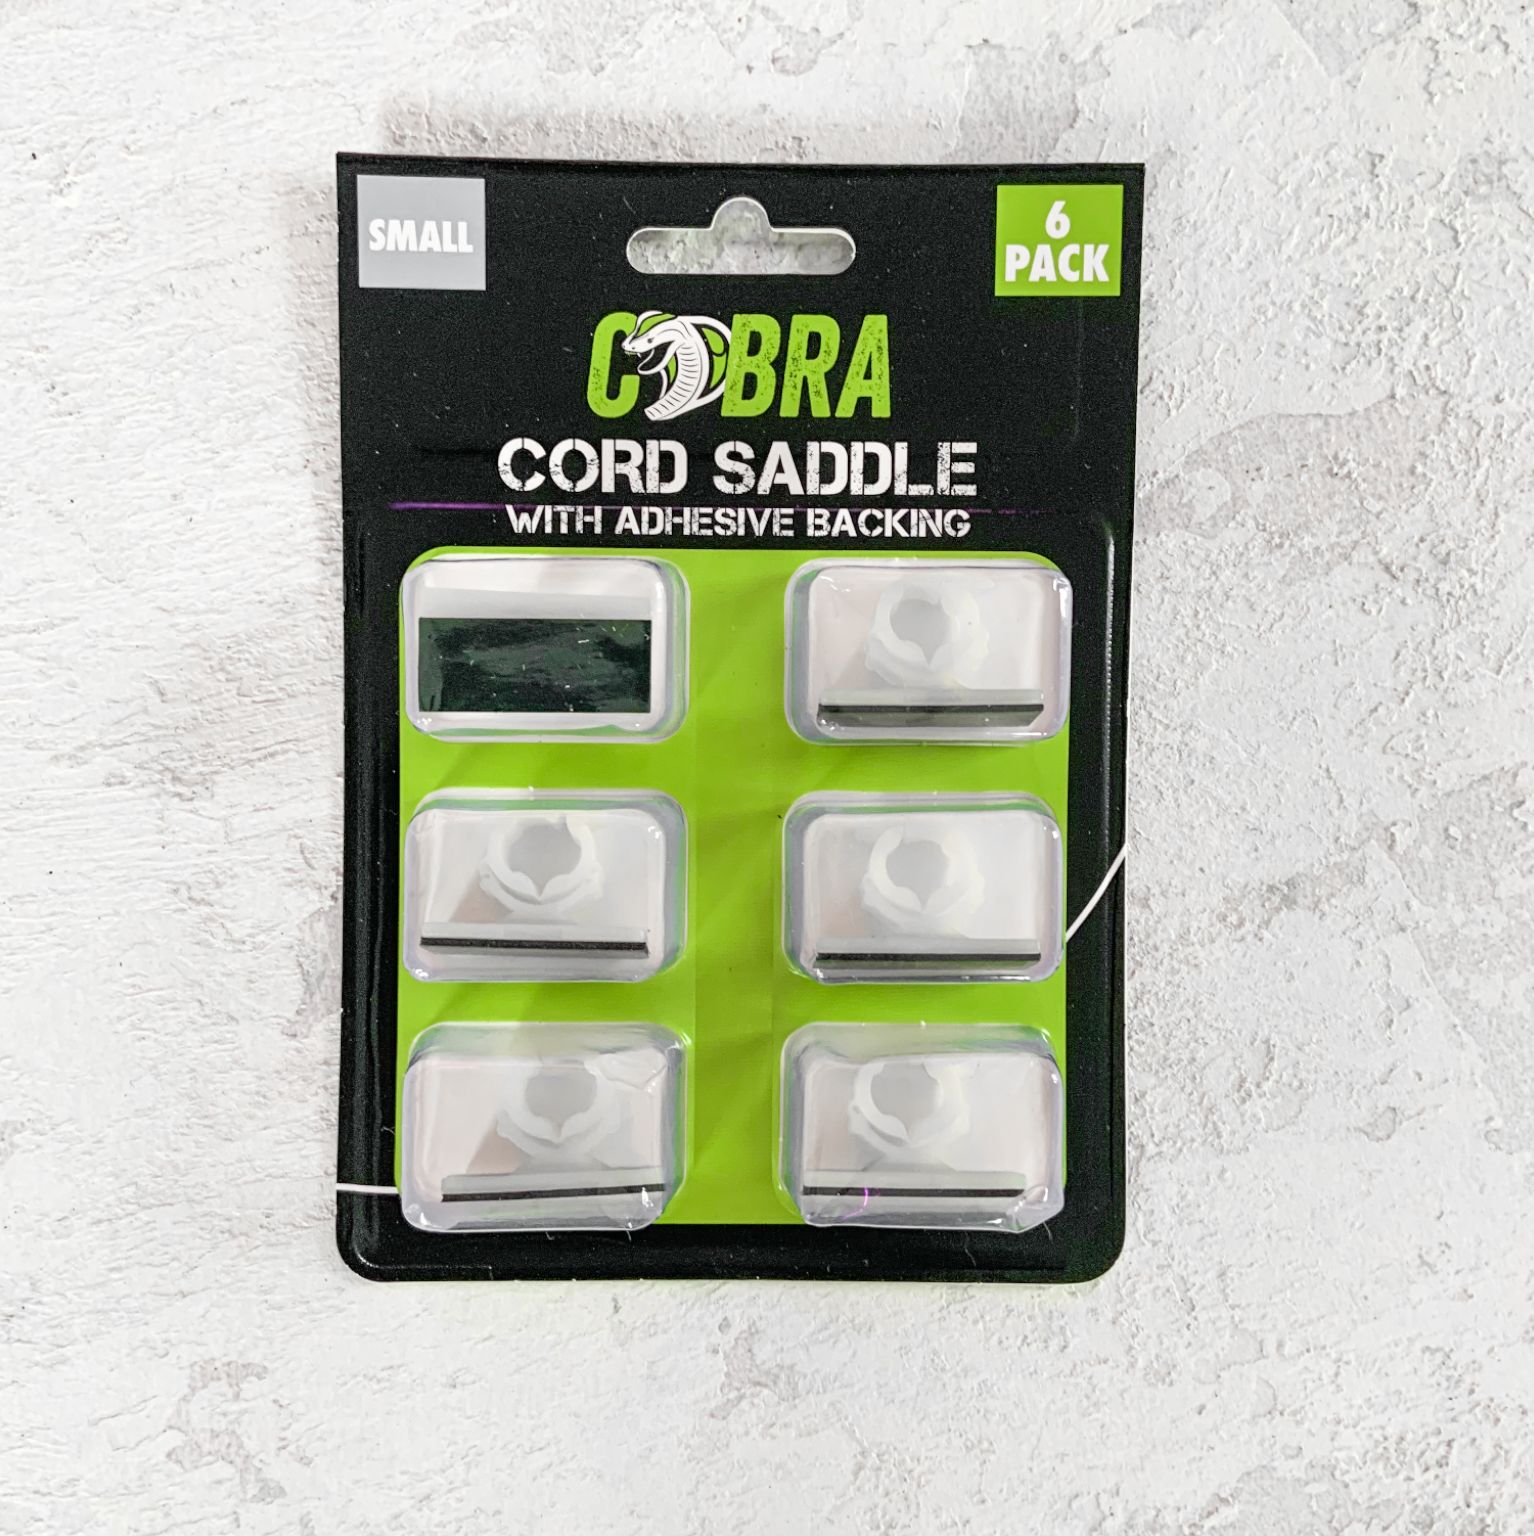
Don’t forget to use cable management clips to keep the wires in the corners of the cabinet and reasonably out of sight.

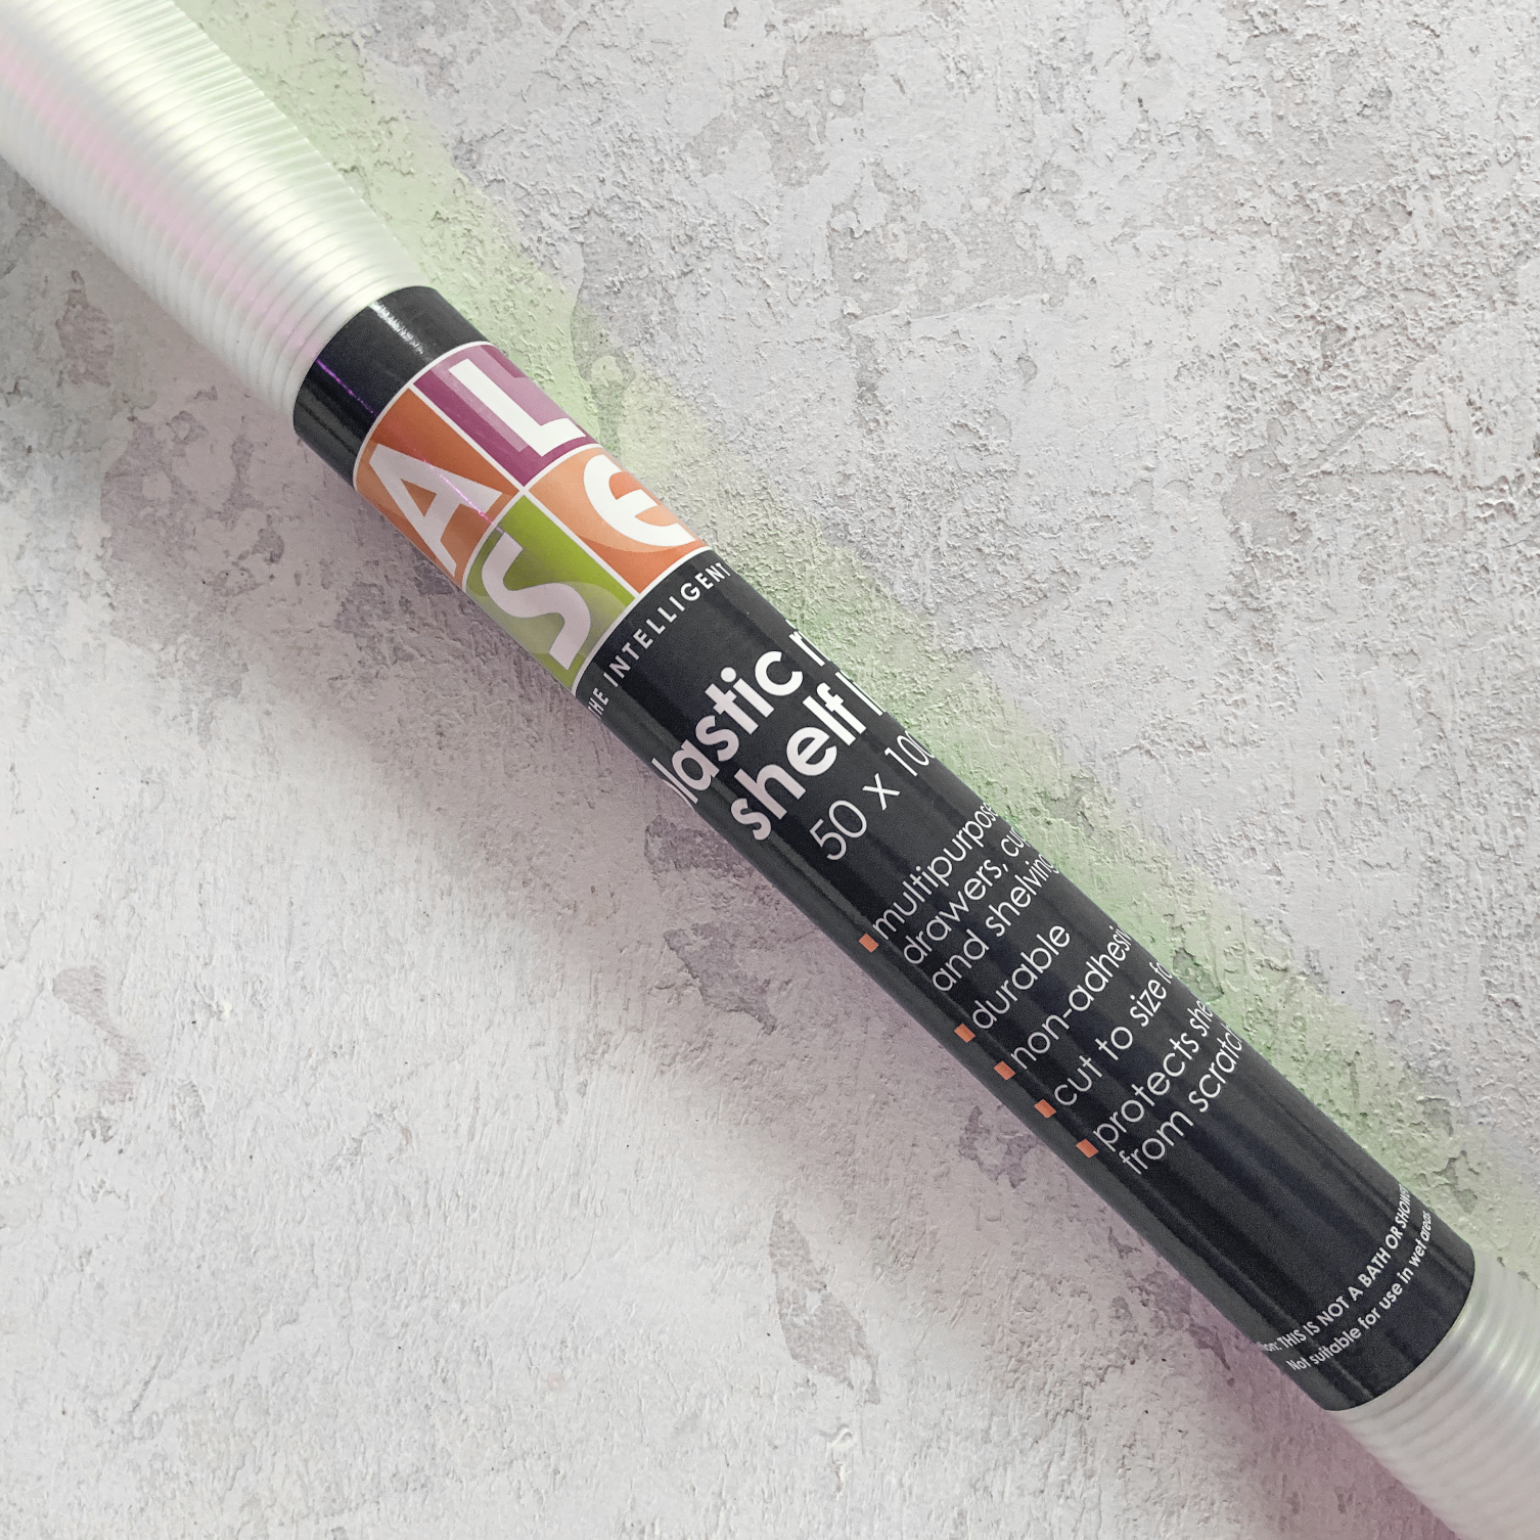
PLASTIC COVER
To protect the base of the cabinet and make it easier to clean I am measuring and cutting some plastic shelf liner. I like to use terracotta pots and I know the screeching of shuffling terracotta on metal would make my ears bleed. This helps prevent that noise.

It will need to be 665mm by 344mm (once cabinet is assembled). You will also need to cut off the corners of the plastic sheet to make room for the vertical beams. Be sure to cut out the front corner if you’ve cut a hole through the metal like I did. I used the tack to hold this plastic sheet down onto the bottom of the cabinet.

VENTILATION SET UP

You will need small fans to run inside your cabinet constantly to provide ventilation for the plants (you are shutting them in a glass case after all).
I decided to use computer fans which can be daisy-chained together by 1 cable. I opted for the smaller 80mm fan so that it was less obtrusive. These fans, whilst more expensive than a cheap little USB desk fan from eBay/Amazon are a better fit for the job. They have about a 36,000hr run time and are already made for using in hot environments (xBox, PC, etc).
Attach them by hanging them from wire from 3M hooks or sit them on top of suction-cup IKEA bathroom storage shelves.
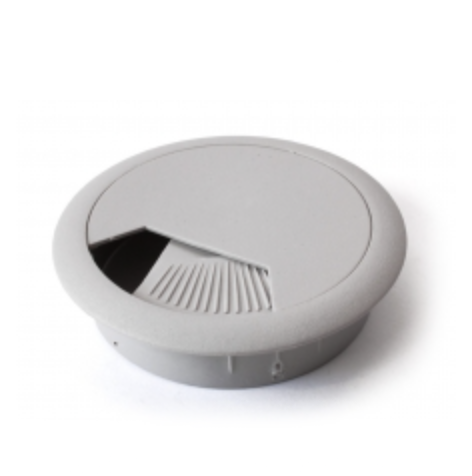
Floor vent I’d like to install in the ceiling to use for extra ventilation.
The fan should not be pressed up to the glass of the cabinet, as they need room for air flow out the back.
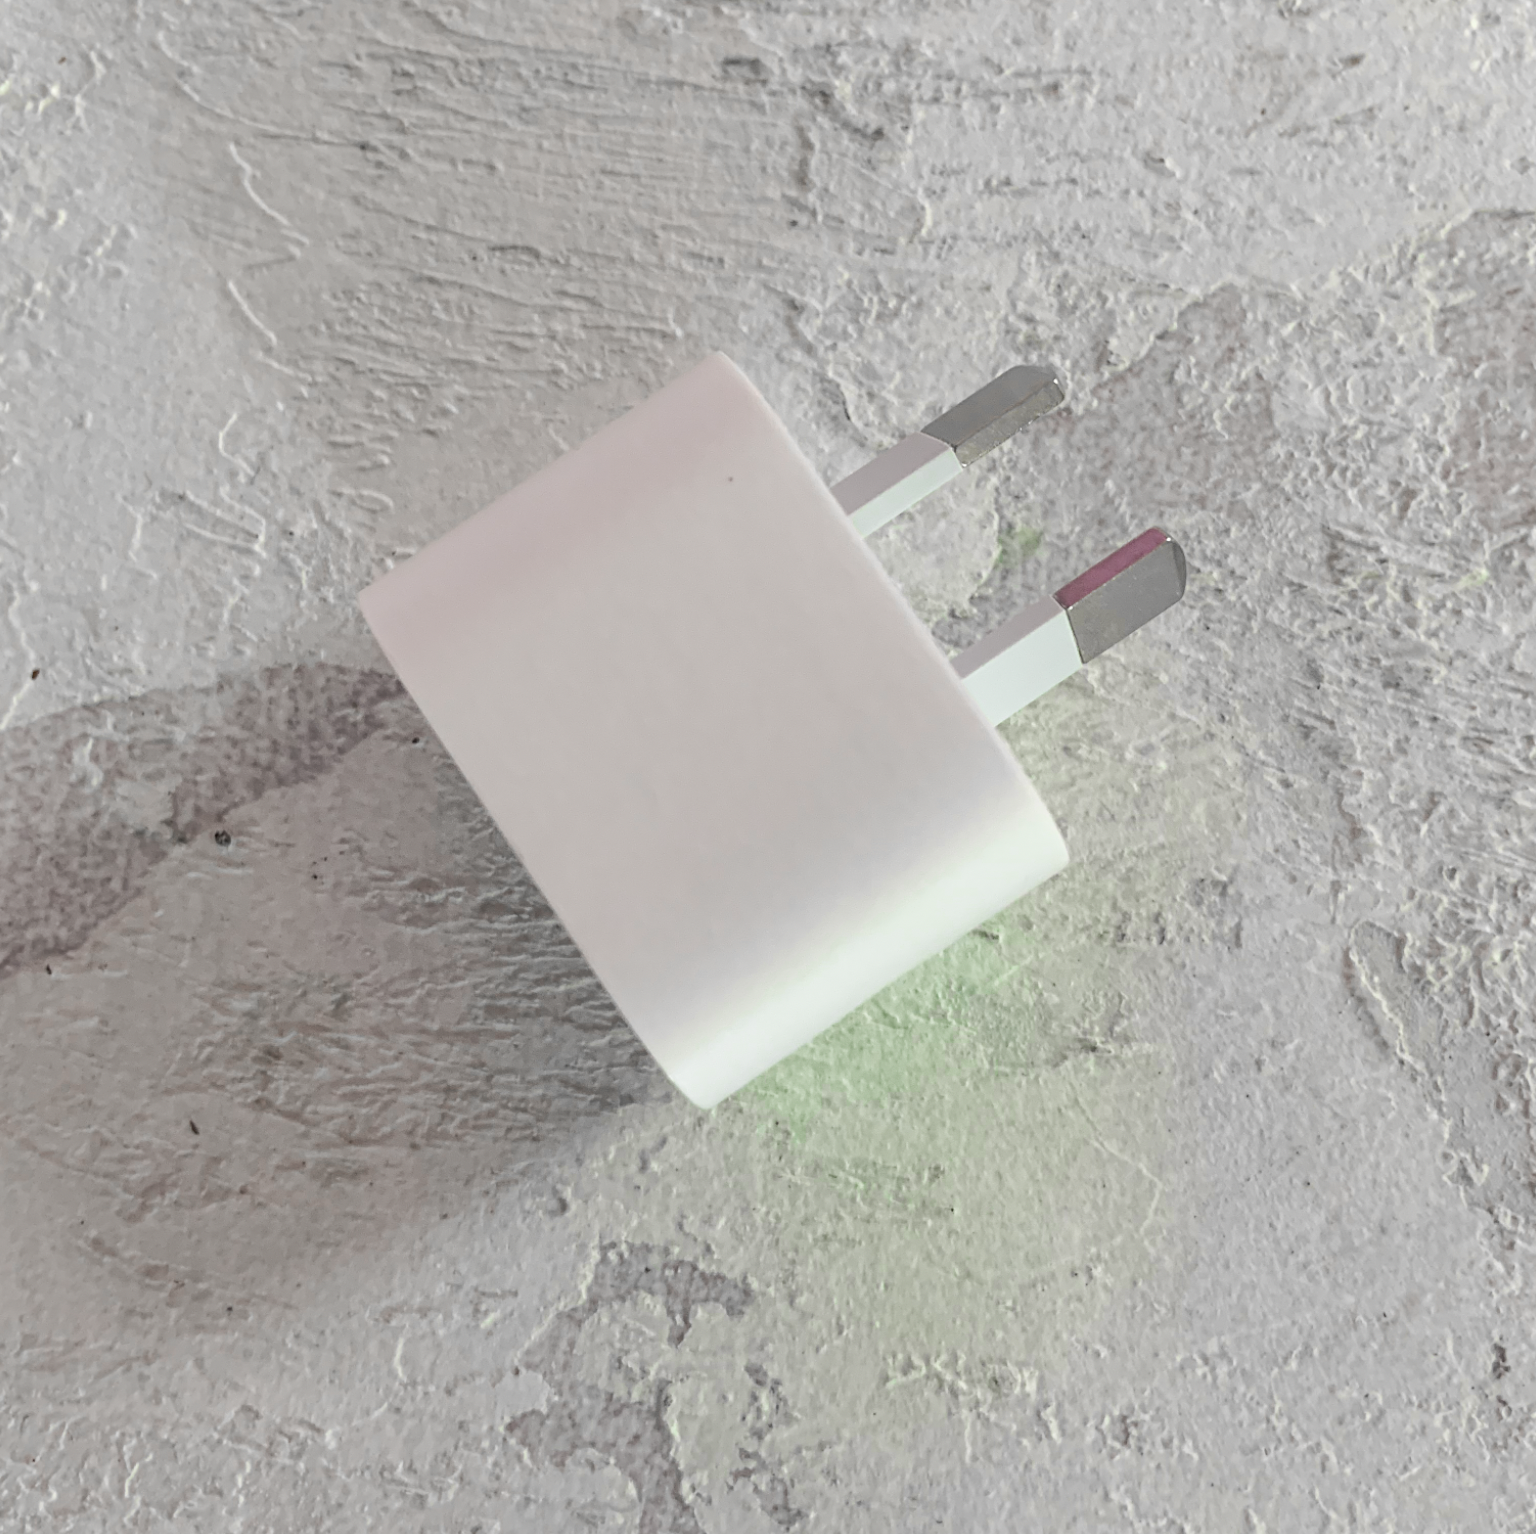
Because the fans are USB powered you will need a USB plug. I just used a spare Apple one I had.
It’s important to note that even though you have fans you may still need to let fresh air into your cabinet once per day or so. There are two small holes at the top of the Milsbo and some of the hot air can escape through there, but opening for 10 minutes or so once per day seems to suit my plants fine.
To fix this problem eventually I would like to use AirTasker or ask someone I know to cut a hole in the roof metal of the cabinet and install a plastic floor vent like this so that I can simply open or shut the vent whenever I need. I do not have the equipment (and I am too clumsy) to do a job like this myself!
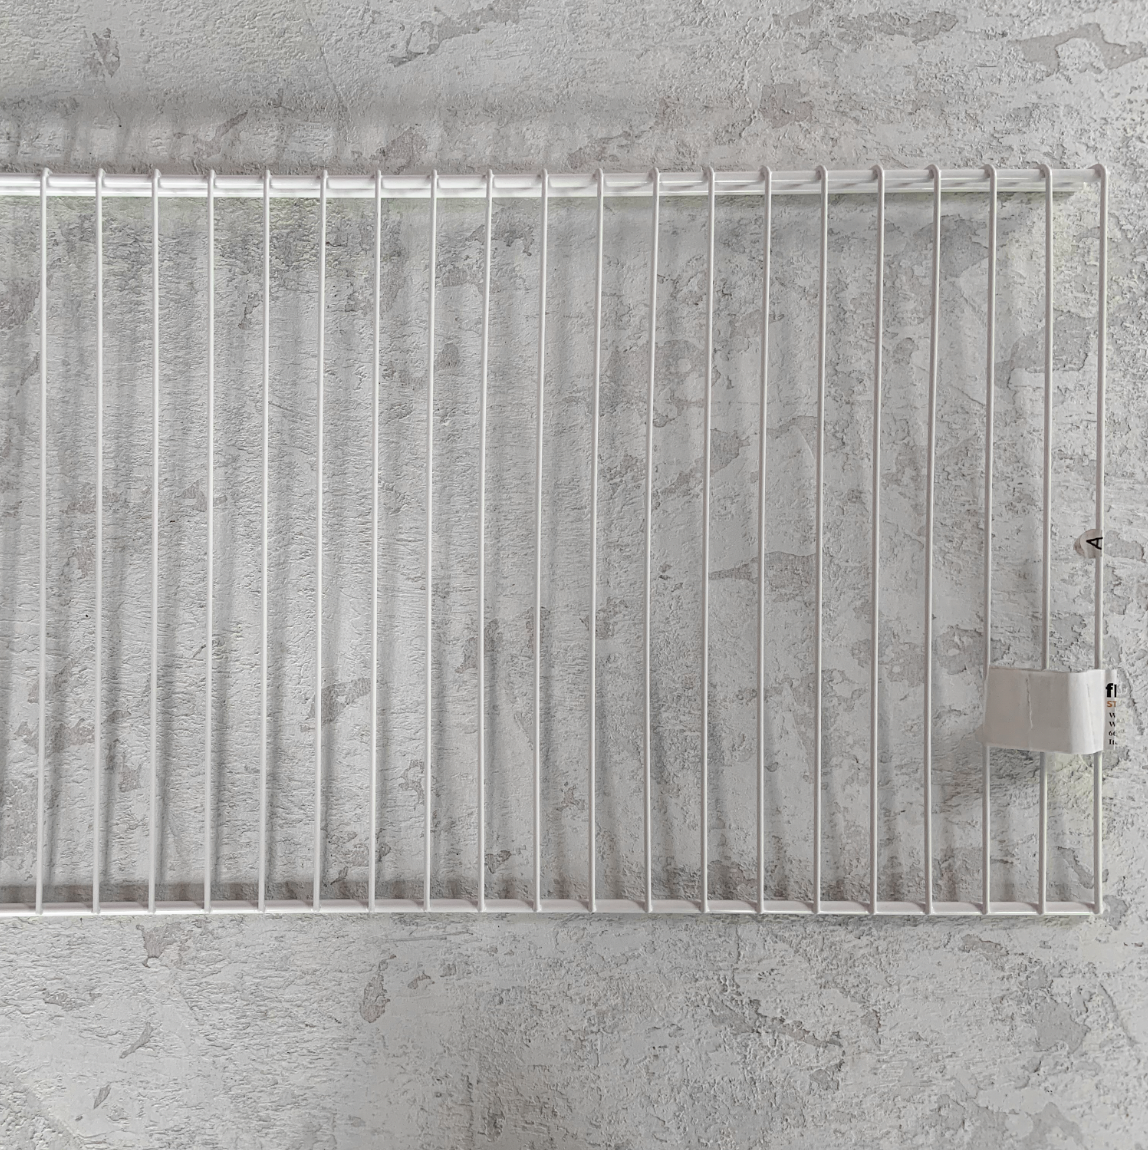
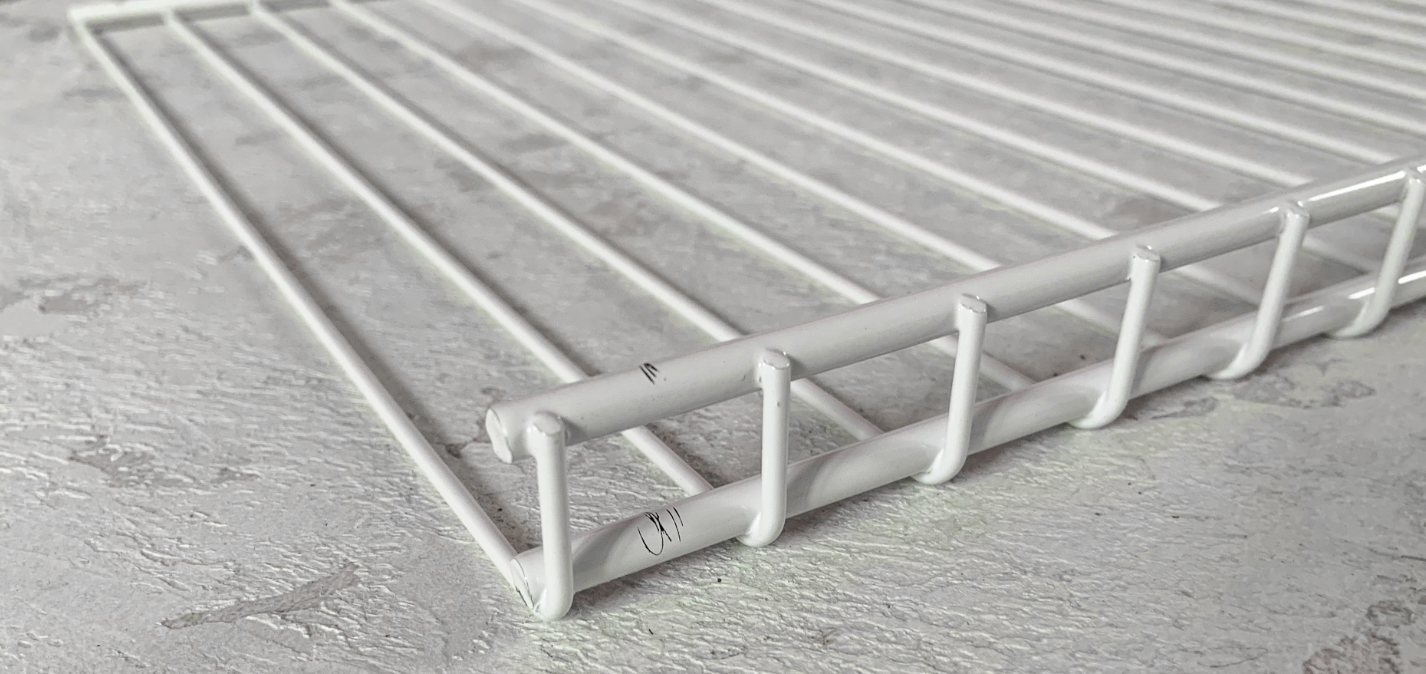
WIRE SHELVING
As I mentioned before, we need the wire shelving for ventilation. It will also allow light to travel to multiple shelves; as a bonus it will be easier to clean and less likely to break than glass.
The shelves I ordered were from Bunnings and I had to cut them to fit. You can find them linked above.
I recommend using your wire shelves with the lip up, so that if you bump a pot it won’t go falling out of the cabinet. I’ve seen a few people use the wire shelving but put the lip of the shelf facing downwards.

I used a hacksaw to cut approximately 8mm off the short end of each shelf. This will help it fit inside the cabinet properly.
Approximately where I cut the shelves
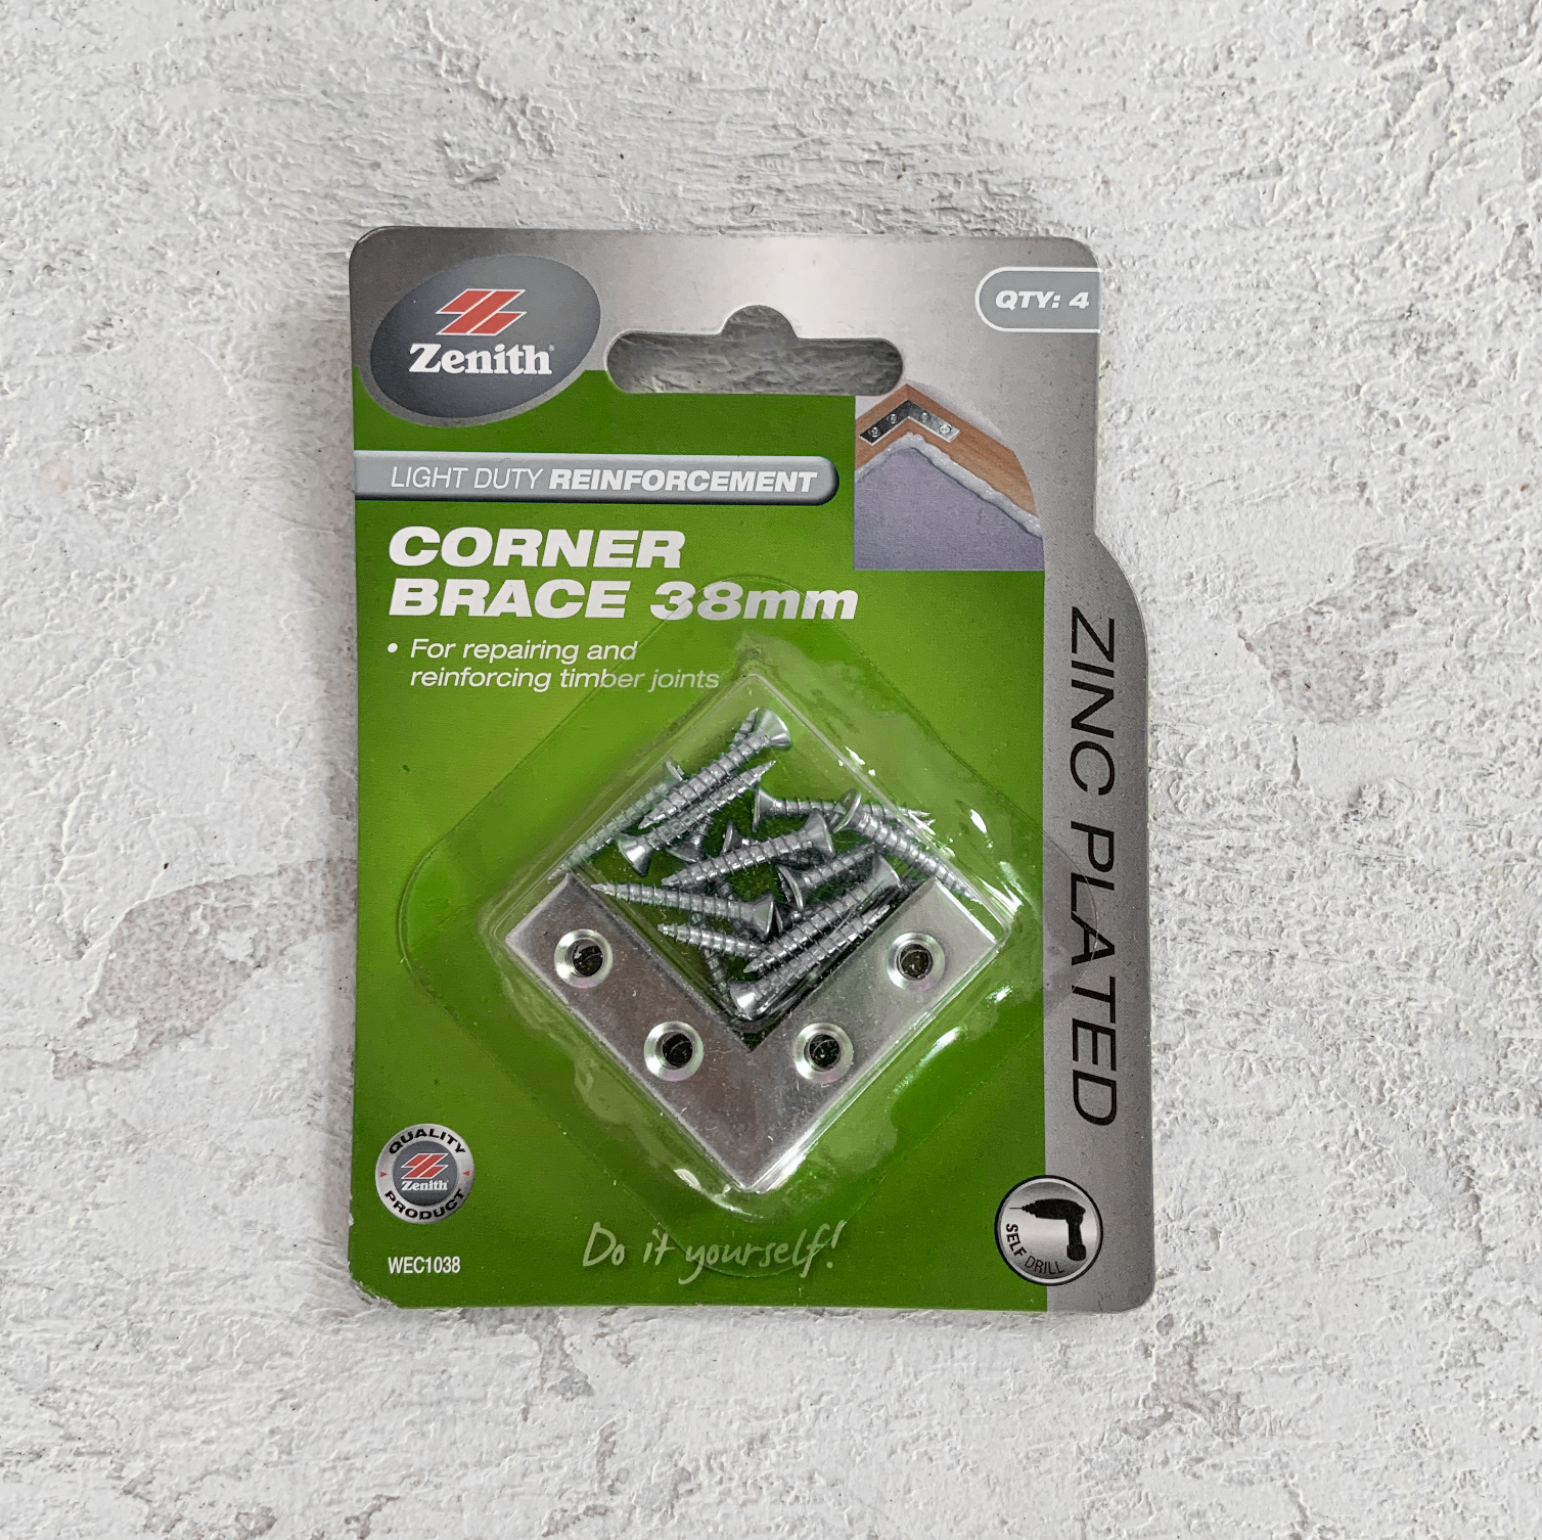
Once your shelf has been cut it will sit in the cabinet by resting on the built-in IKEA shelf rests. However, because it’s going to be holding pots and soil I wanted to make sure it was completely secure. To do this I used a metal-approved super glue to adhere metal corner braces to each corner shelf rest, look for zinc-plated braces to help prevent rusting. For each shelf you will need 4 braces (1 per corner).
Keep a small gap between the shelf rest and the outside side glass of the cabinet so that you have room to run your wires between the shelf and the glass.

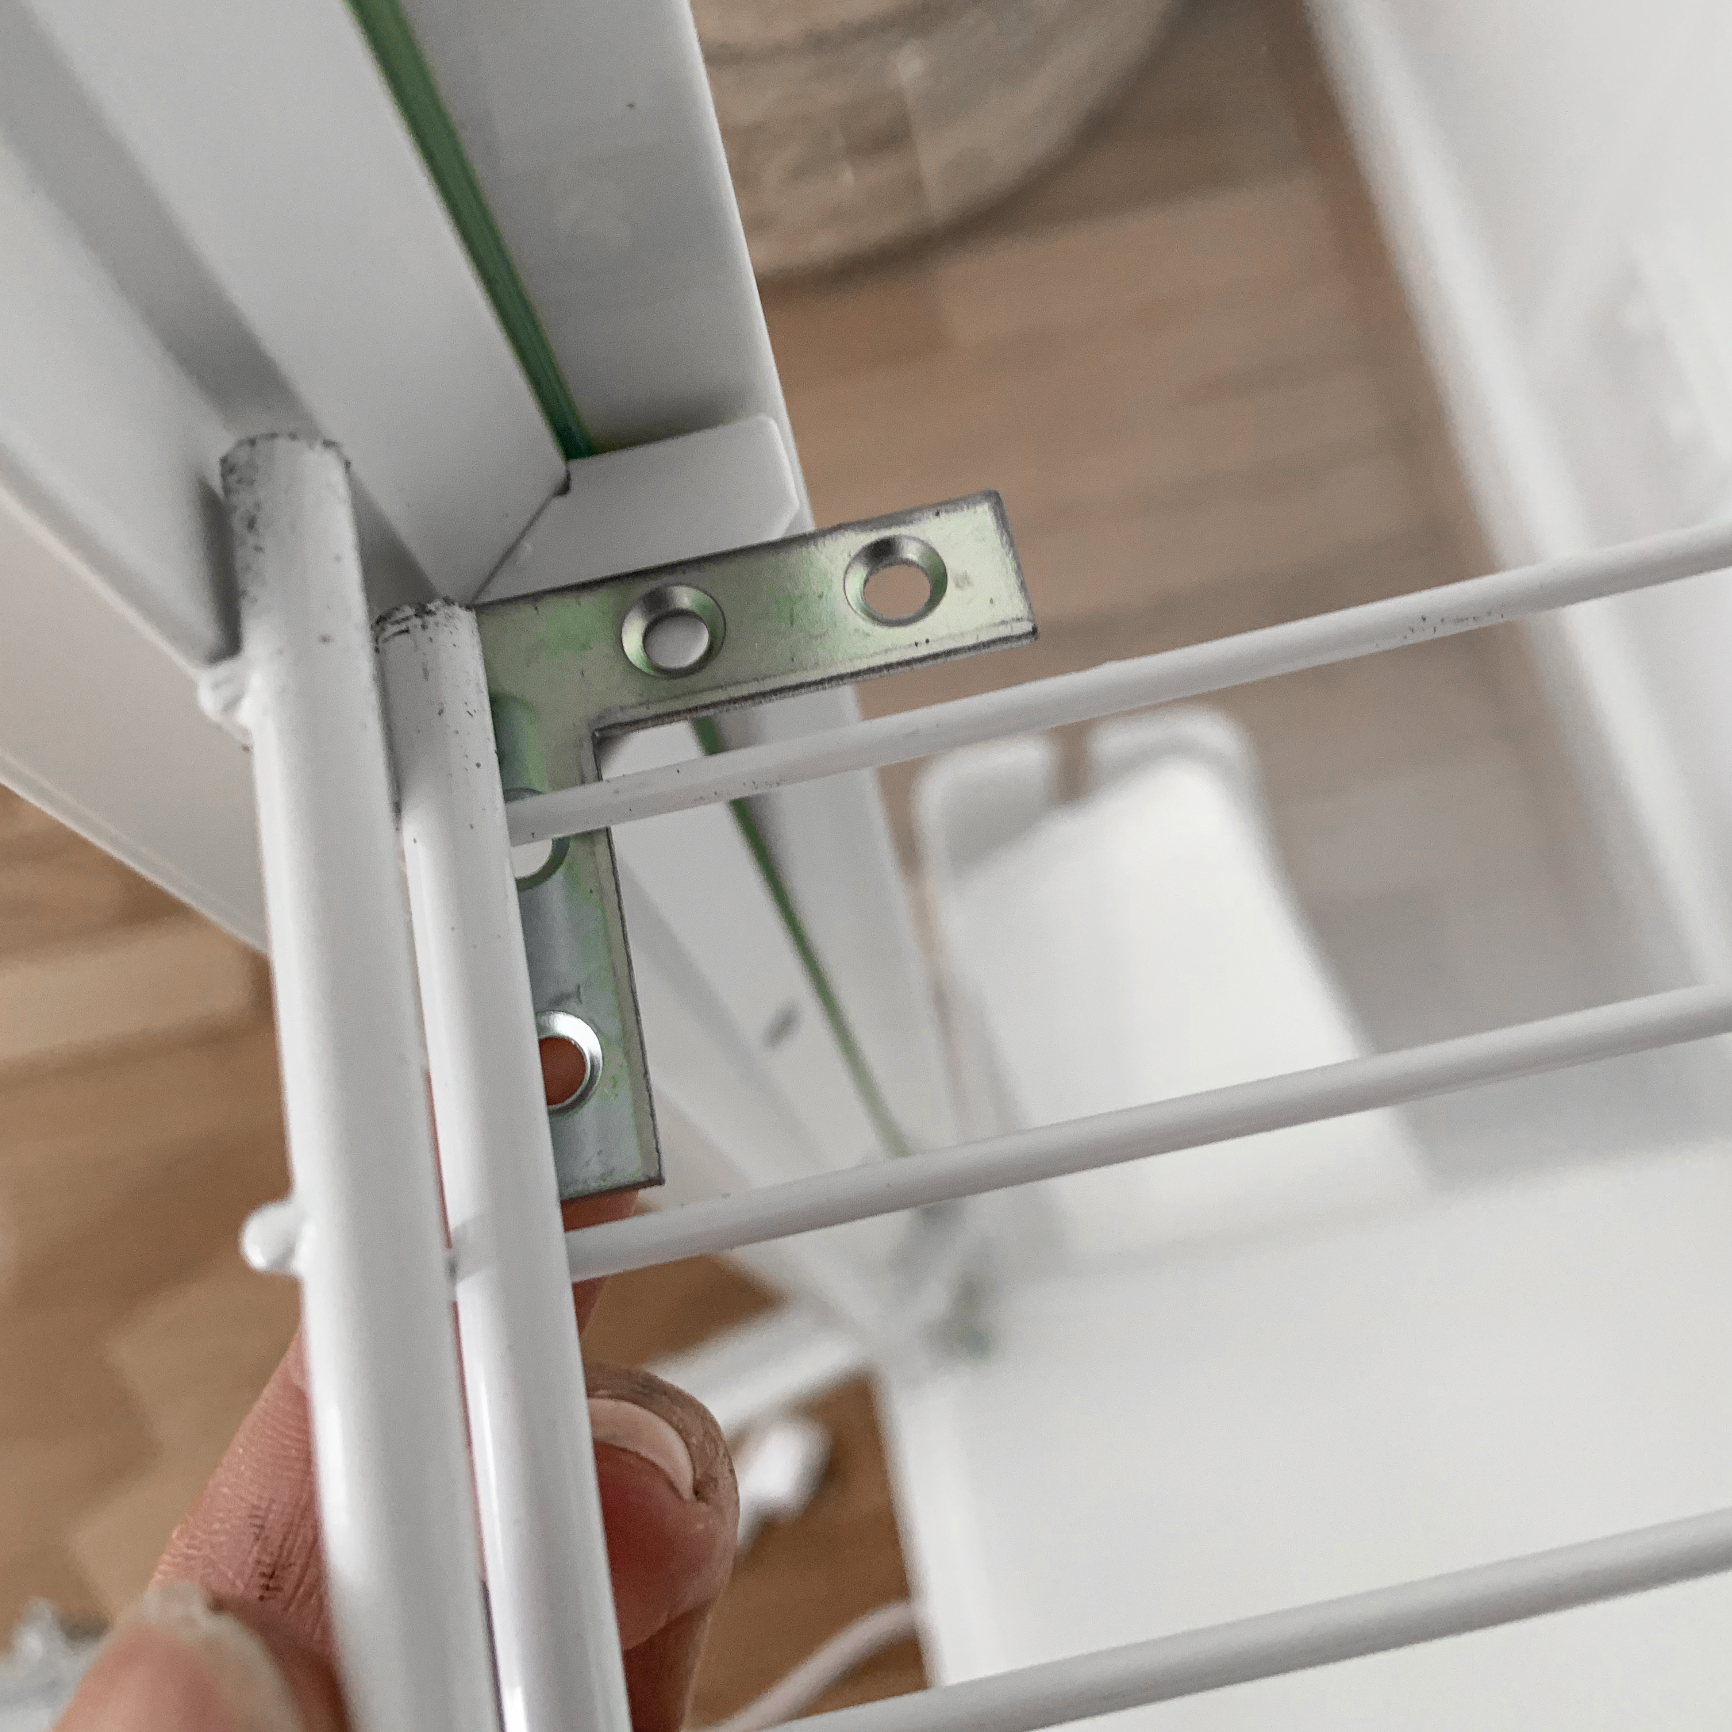
Allow the superglue ample time (overnight) to dry and then attach your wire shelving to the metal brackets with small, clear cable ties. Make sure you have already installed your top light and top fan before attaching your shelves. It may be easiest if you get someone to hold your fan up while you install the shelf if you haven’t already attached it to anything.


ELECTRONICS
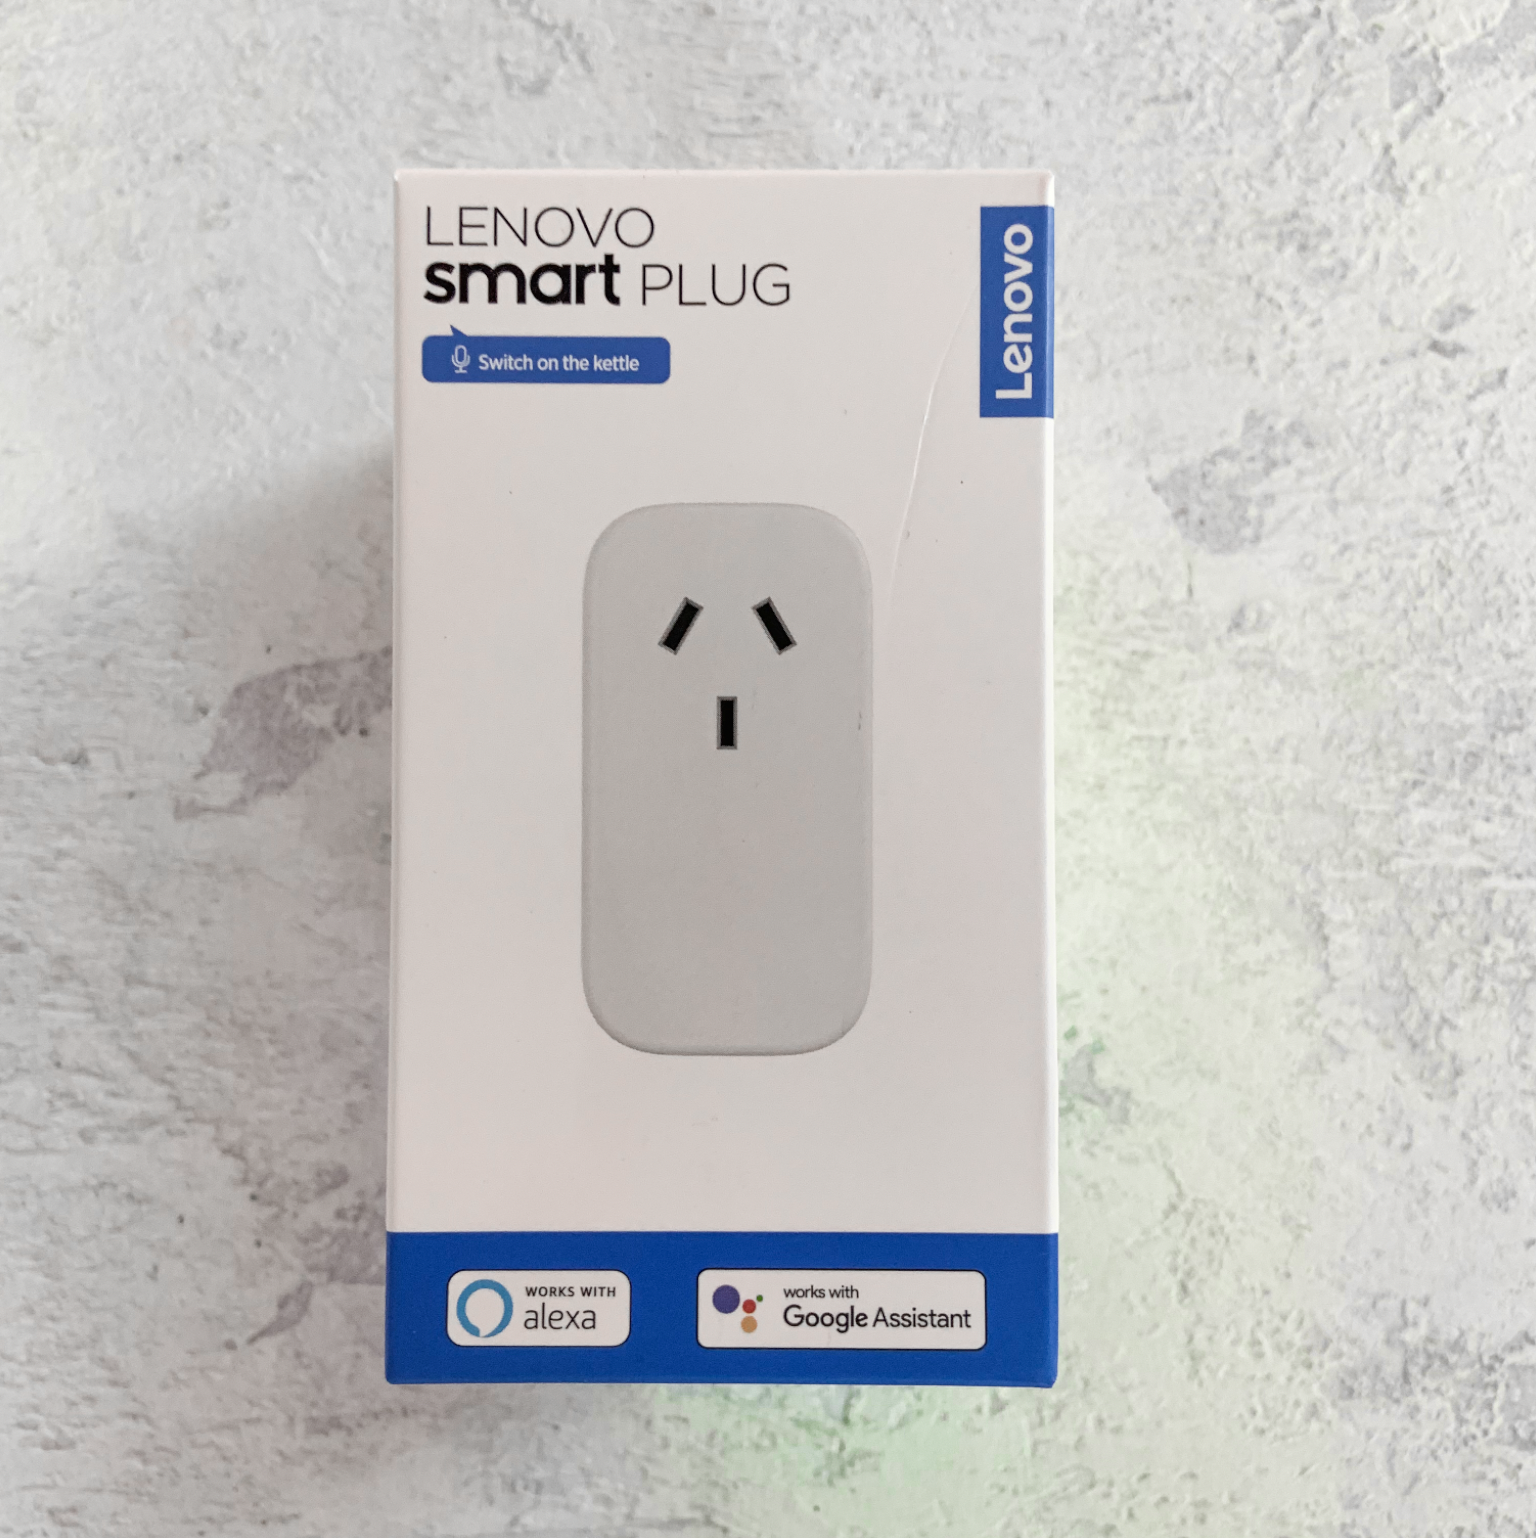
Once you have your wire shelves in you’ll want to secure your fans with zip ties and place in your humidifier (if you’re using one). I set mine up on a smart plug to run for 10 minutes every second hour. The cabinet retains a lot of humidity on its own, so if you live somewhere that’s warm/humid most of the time (I do not) you may not even need a humidifier in the cabinet at all.
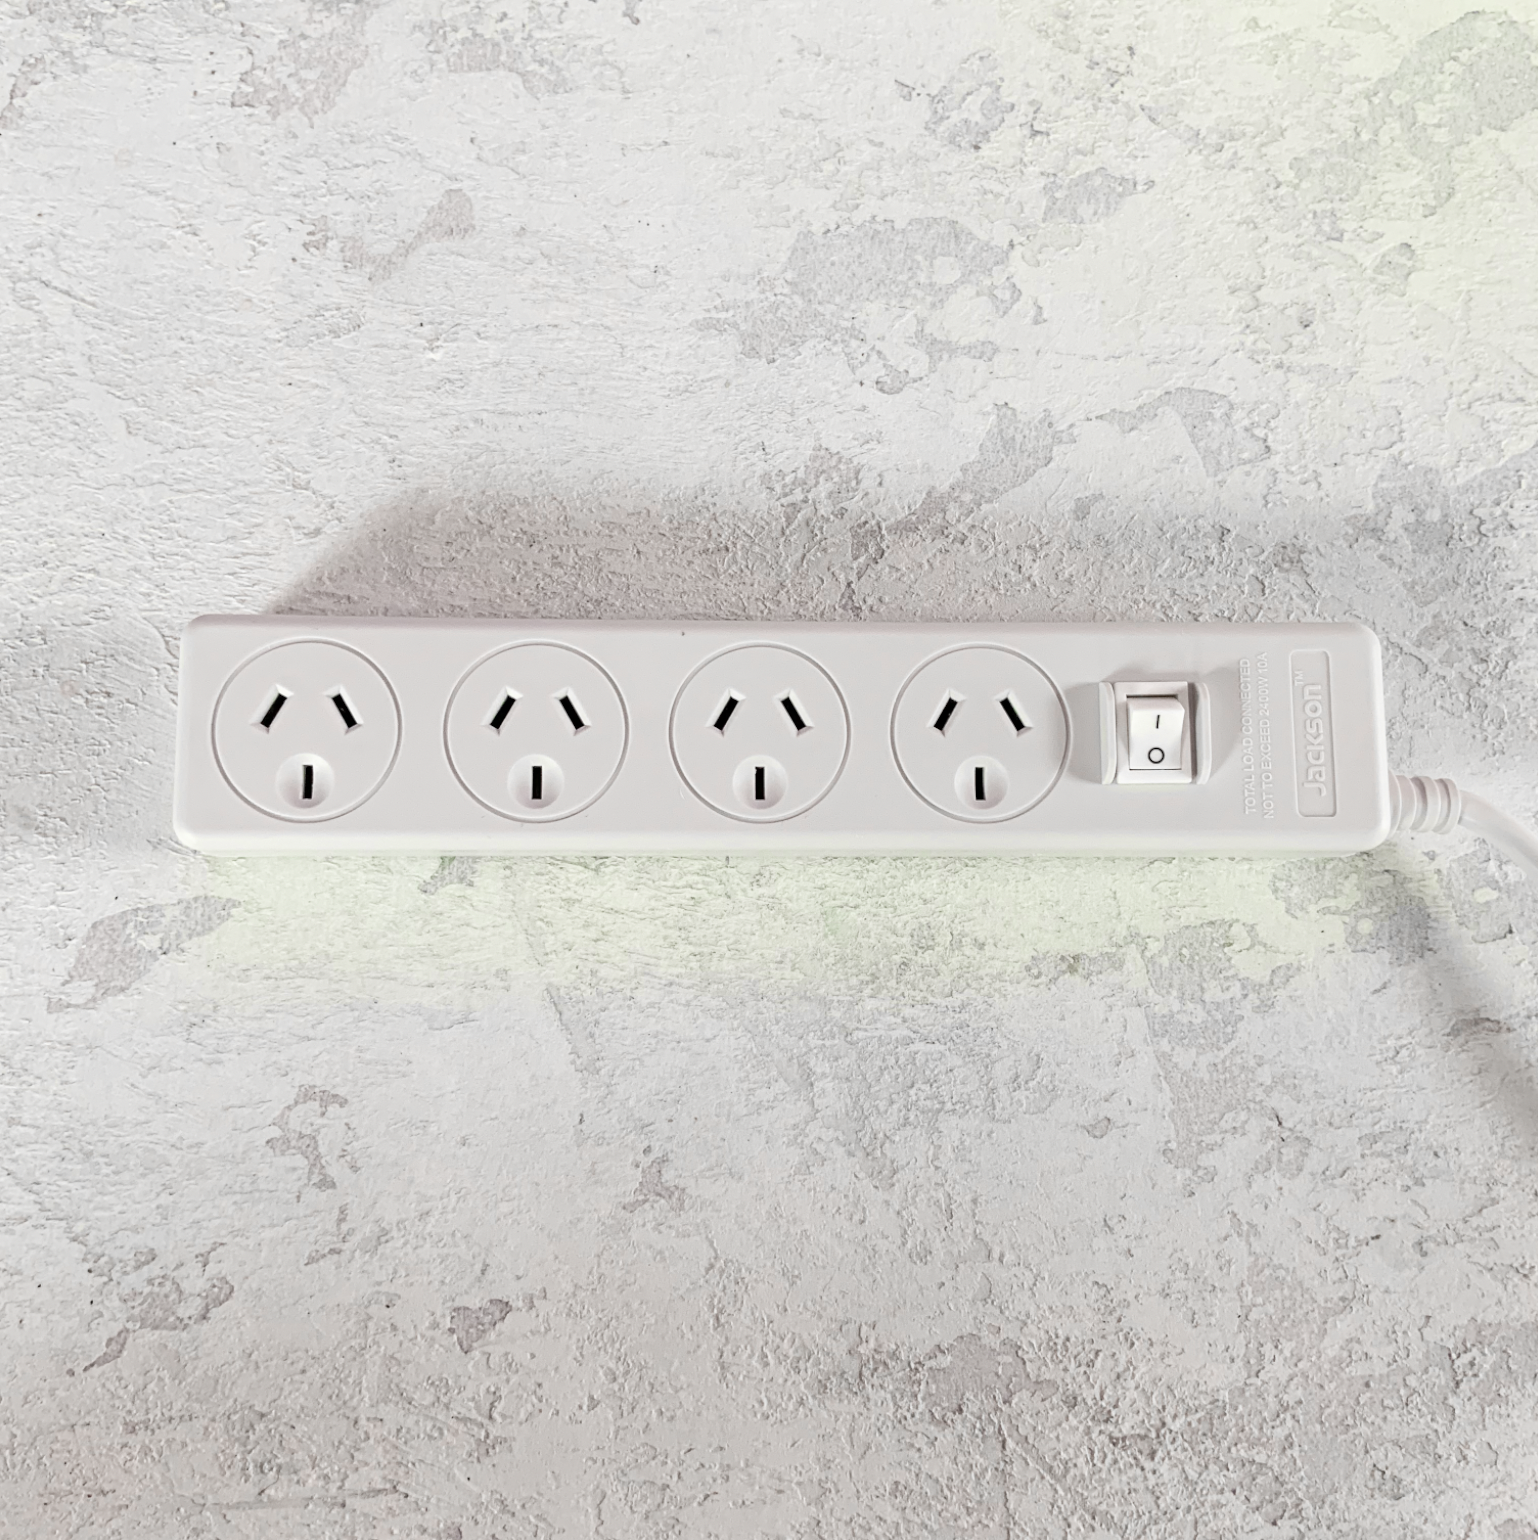
In total I used 2 smart plugs for this set up. One for the power board holding my lights, and one for the humidifier.
The lights were plugged into one power board inside the cabinet which I sealed off with some of the leftover shelf liner plastic and extra strong grip double-sided tape.
This power board I ran out through the drilled hole in the base of the cabinet and into a second board underneath the cabinet. The light board I plugged into Lenovo smart plug.
The fans I ran directly out the cabinet (skipping the power board inside) and plugged straight into the bottom power board as these need to remain on constantly.

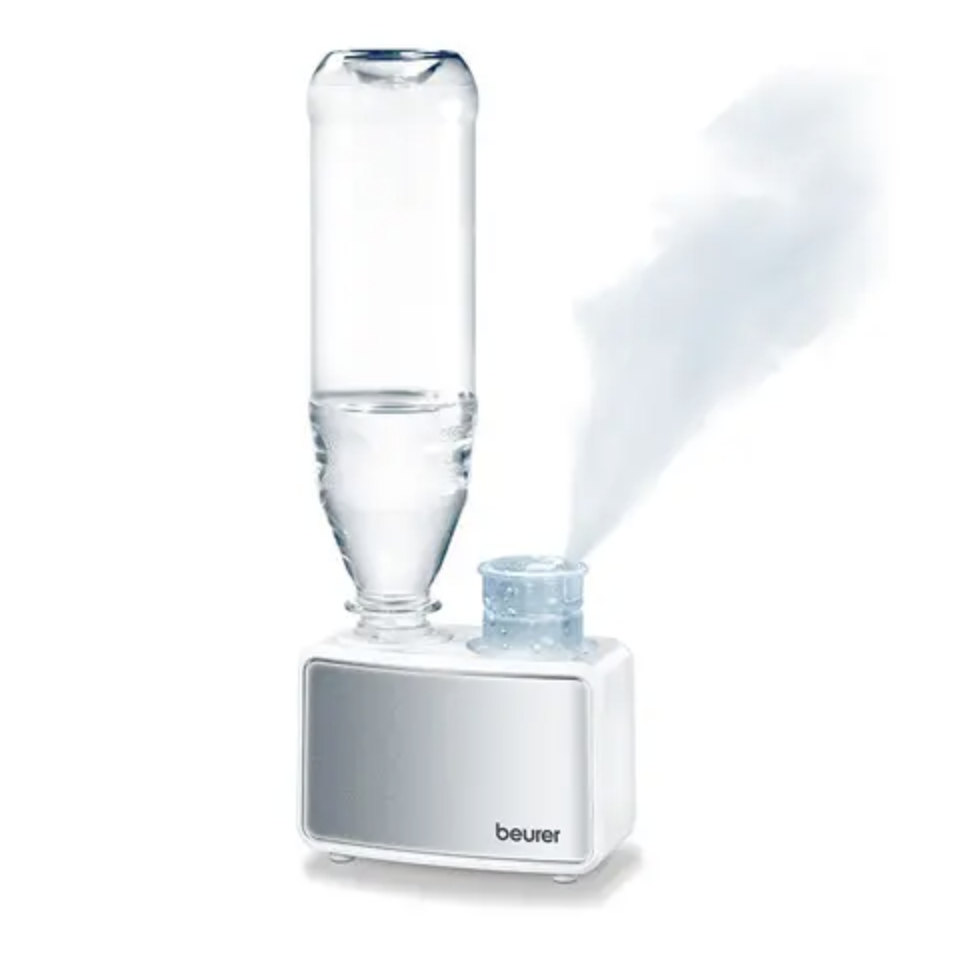
For the humidifier I needed one which could be left manually switched in the ‘on’ position so that it could be controlled by my Smart plugs. I initially tried out my Hysure humidifier, which has a large water reservoir. I realised quickly that this humidifier was
(a) too big and using too much floor space, and
(b) The water reservoir acted as a giant puddle shooting the humidity up to the high 90s inside the cabinet.
I decided to get this Brauer mini humidifier instead. You plug a water bottle into it and it can be left switched on so that your plugs control when it turns on and off. The added bonus is you can easily see the water level without having to open the cabinet, and the water is not open to the cabinet so you’ll have more control over the humidity level.
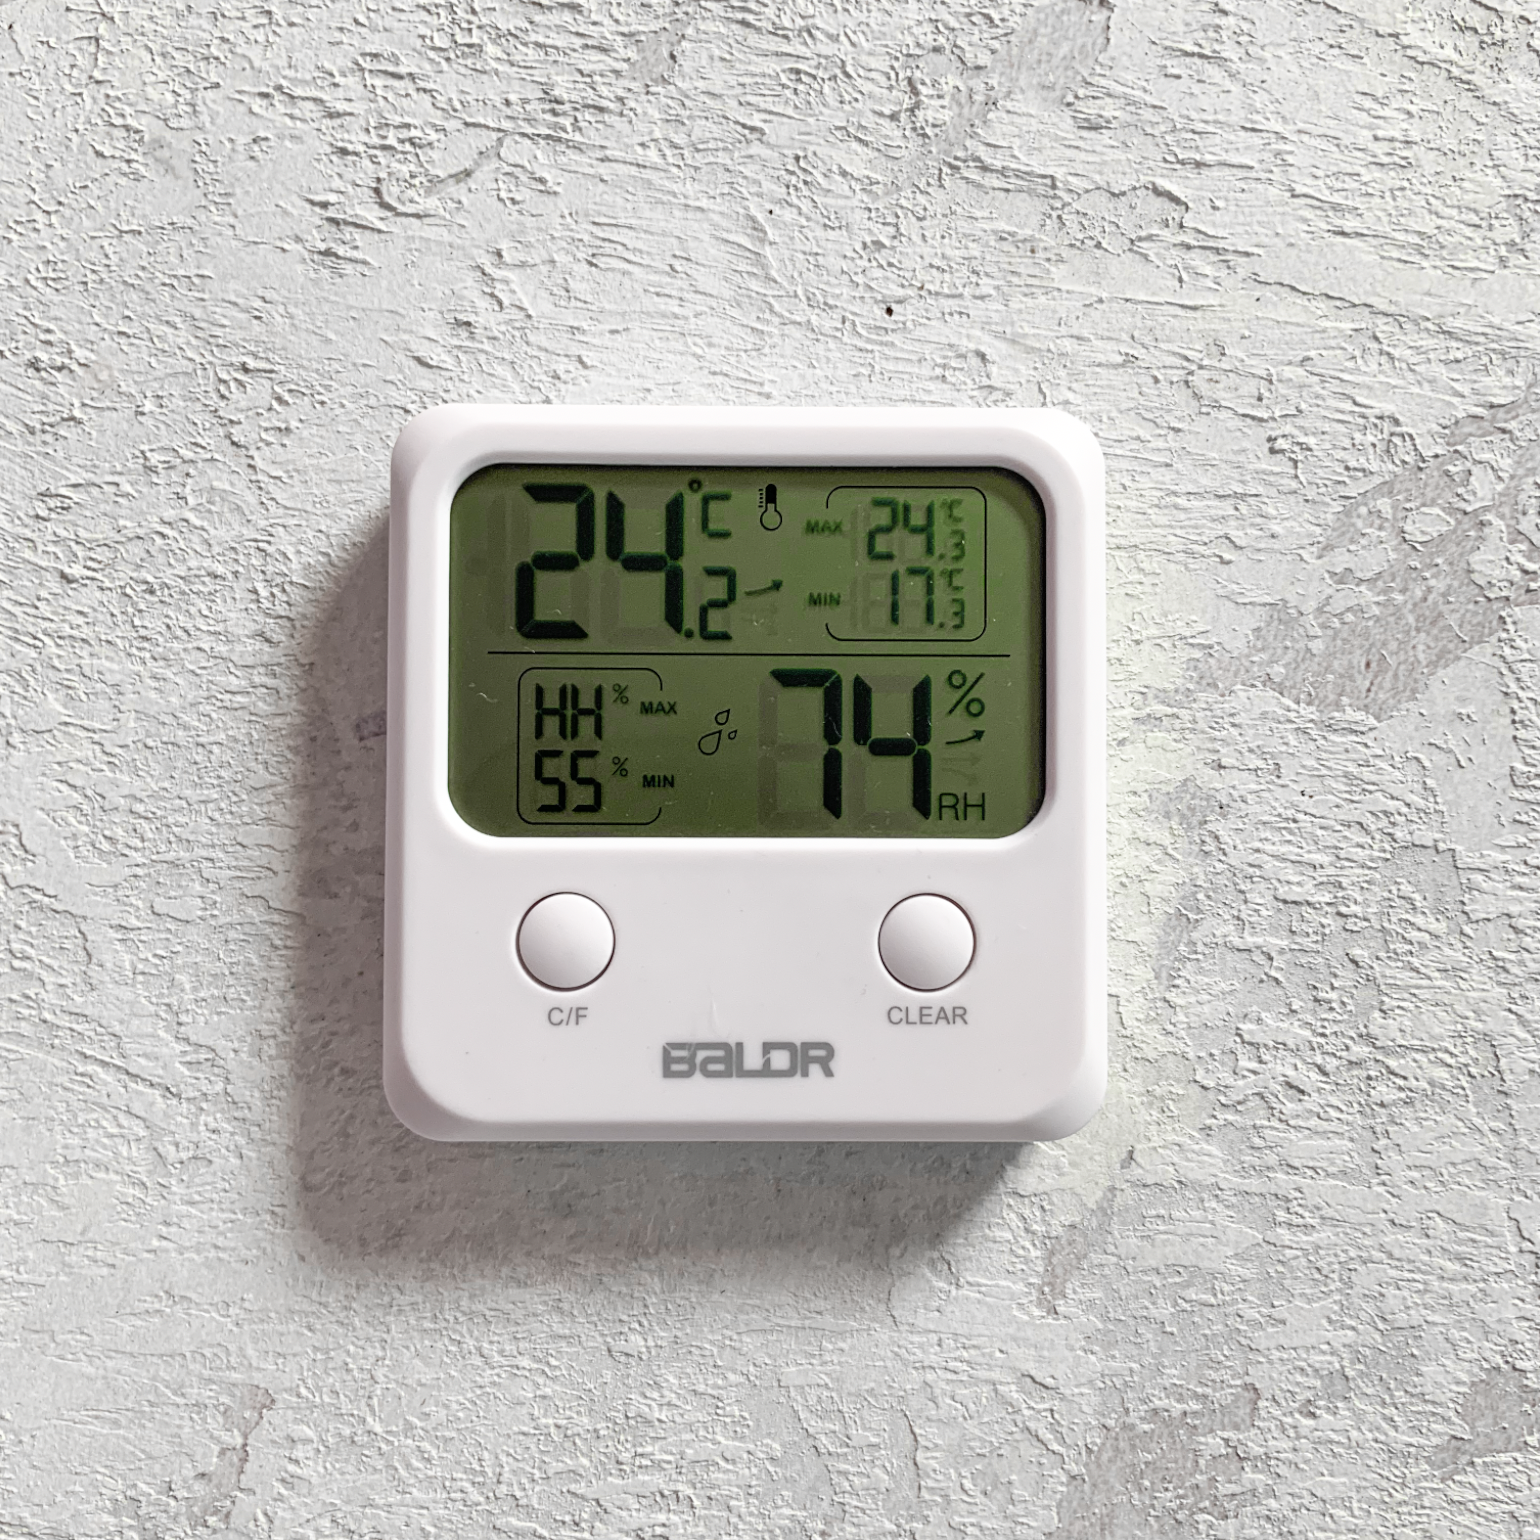
What I may do at some point is set up a thermostat controller to control the humidifier and only turn it on if the humidity drops below 70%.
Light Schedule:
7:00am - ON /9:00pm - OFF
Fan Schedule:
Always on
Humidifier Schedule:
Runs for 10mins every second hour all day.


SAFETY WARNING
I STRONGLY recommend using a cable management box to keep your cabling off the floor. I saw a horror story from someone’s cabinet where his fans had been set to switch off during the night and they failed to turn back on but his humidifier had turned back on and water went dripping out of the cabinet. It then pooled on the floor and fried his power board. Please keep your fans running 24/7 and make sure your humidifier is only running for short periods of time. Keep the cables tucked away in a cable management box so that they’re off the floor. This is why it’s also useful to have a grommet installed in the cabinet hole.

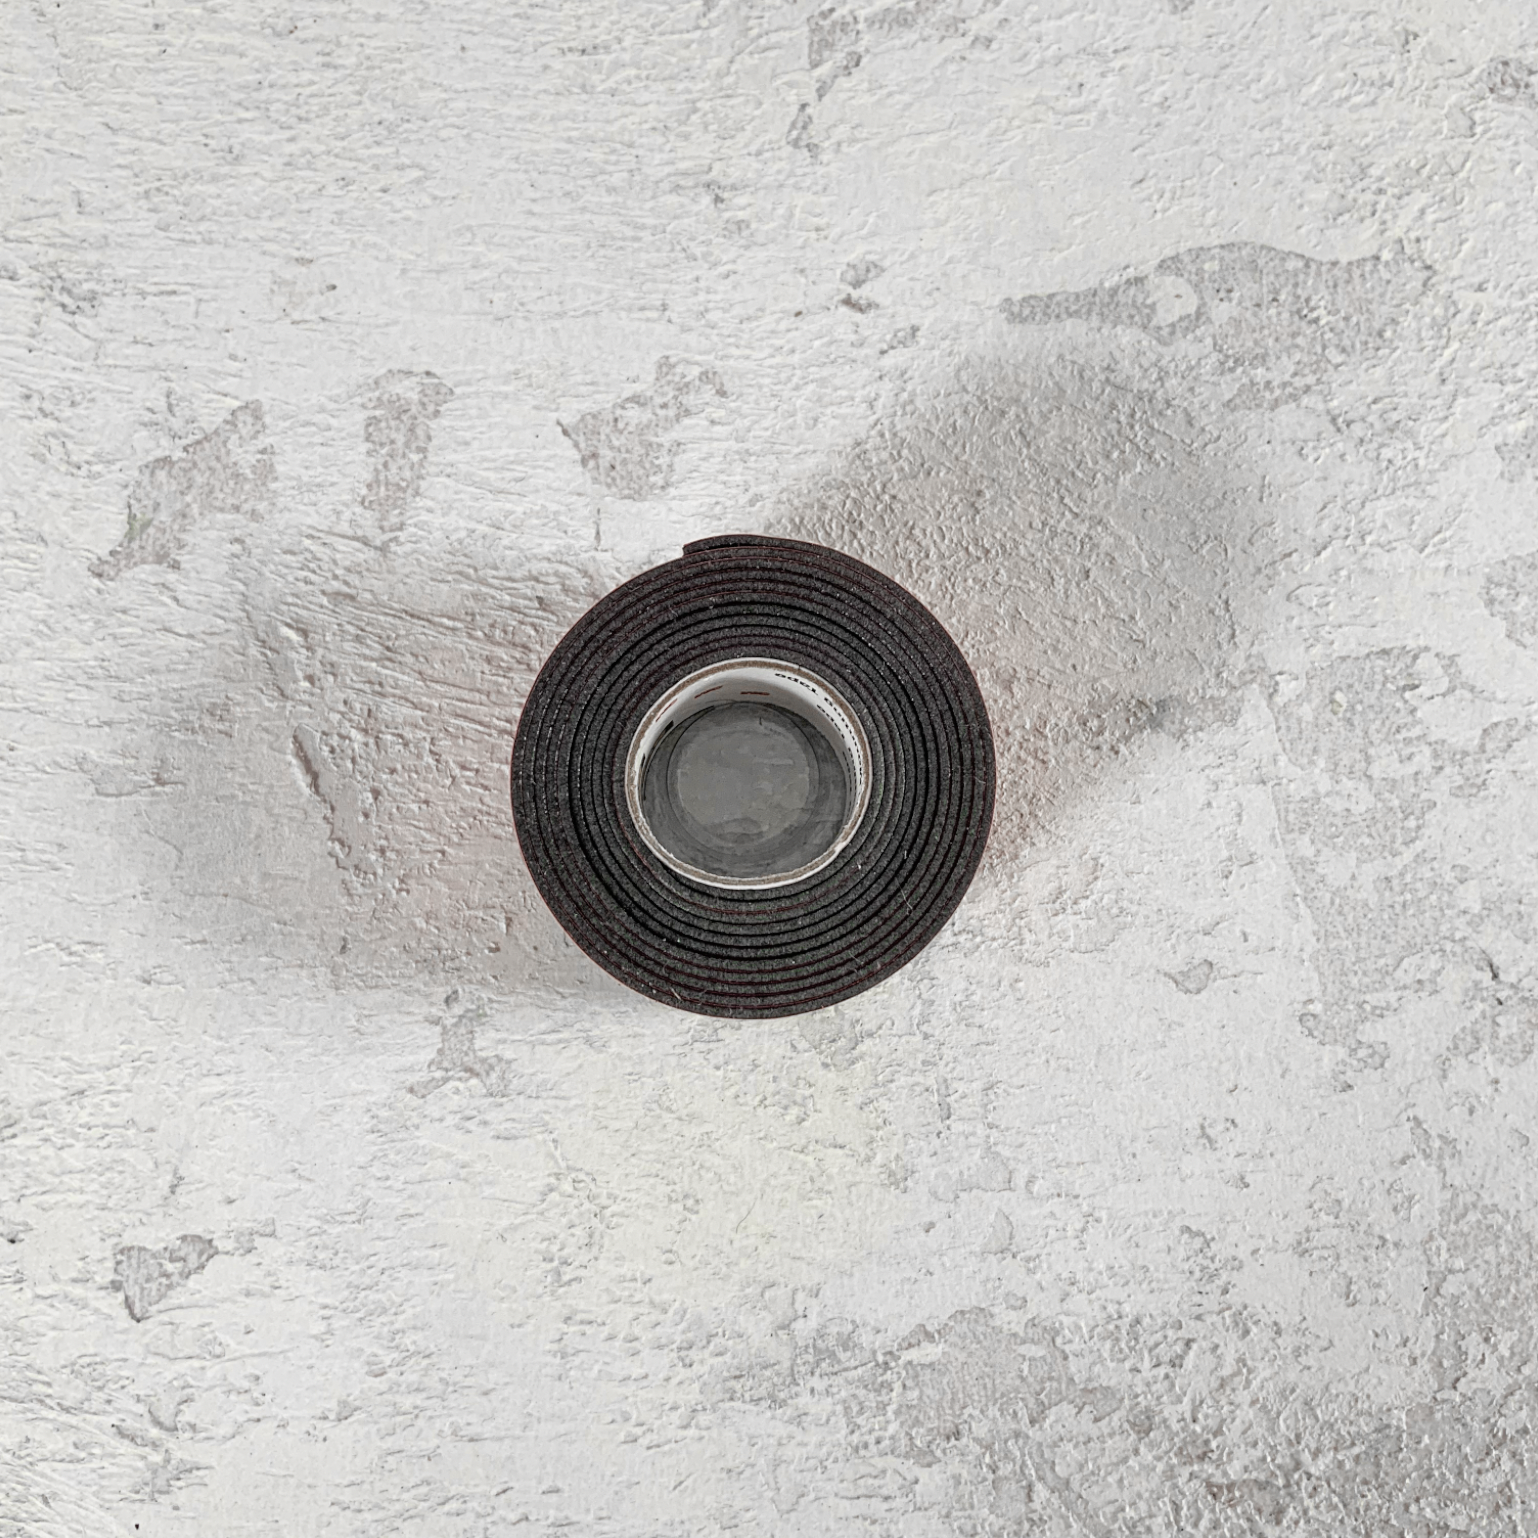
I have highlighted in red all the areas you will need to use the foam tape.
WEATHER-PROOFING
Don’t forget to use some foam tape to weather-proof your cabinet. This will help keep the humidity inside (the whole point of making it). The Milsbo cabinet has a small gap between the doors and main section of the cabinet.
We will need to use 3mm foam tape to seal off the doors. The maximum thickness you could go is 4mm. I decided to place the tape on the doors rather than the cabinet because there is a small vertical gap between the doors, and also for aesthetic reasons. If I wanted to take photo with the cabinet open I did not want to see the foam tape.


ENERGY CONSUMPTION
Before I finished building this cabinet I put up a questions slide in my Instagram stories asking if anyone wanted to know anything in particular to do with the assembly of the cabinet. A common request I got was to know the energy consumption or power bill.
I of course cannot estimate what impact it would have on your power bill because rates can vary so much depending on location and energy provider.
What I can do, however, is provide you with wattage information:
2 x Smart plugs - Always on
Approximately 1 watt
3 x LED grow lights - on 14hrs per day LED lights consume 80-90% less energy than incandescent bulbs, and last up to 100,000 hours, versus 3,000 hours for an incandescent.
Approximately 5.8 watts PER LIGHT when in use
2 x 80mm AC Infinity fans - Always on
Approximately 1.1 watts PER FAN
1 x Mini Humidifier - On for 120 mins per day (12 x 10min periods)
Approximately 20 watts

Smart Plugs

3 x LED lights

2 x AC Infinity Fans 80mm

Mini Humidifer
In total this gives us an estimated 131.56 kWh/Year.
My energy bill at the moment is approximately 24c per kW
On a standard use day and not including peak times and Daily Supply Charges or GST it would equal approximately $31.50 to run per year, or about $7.90 per quarterly bill.
OTHER ACCESSORIES
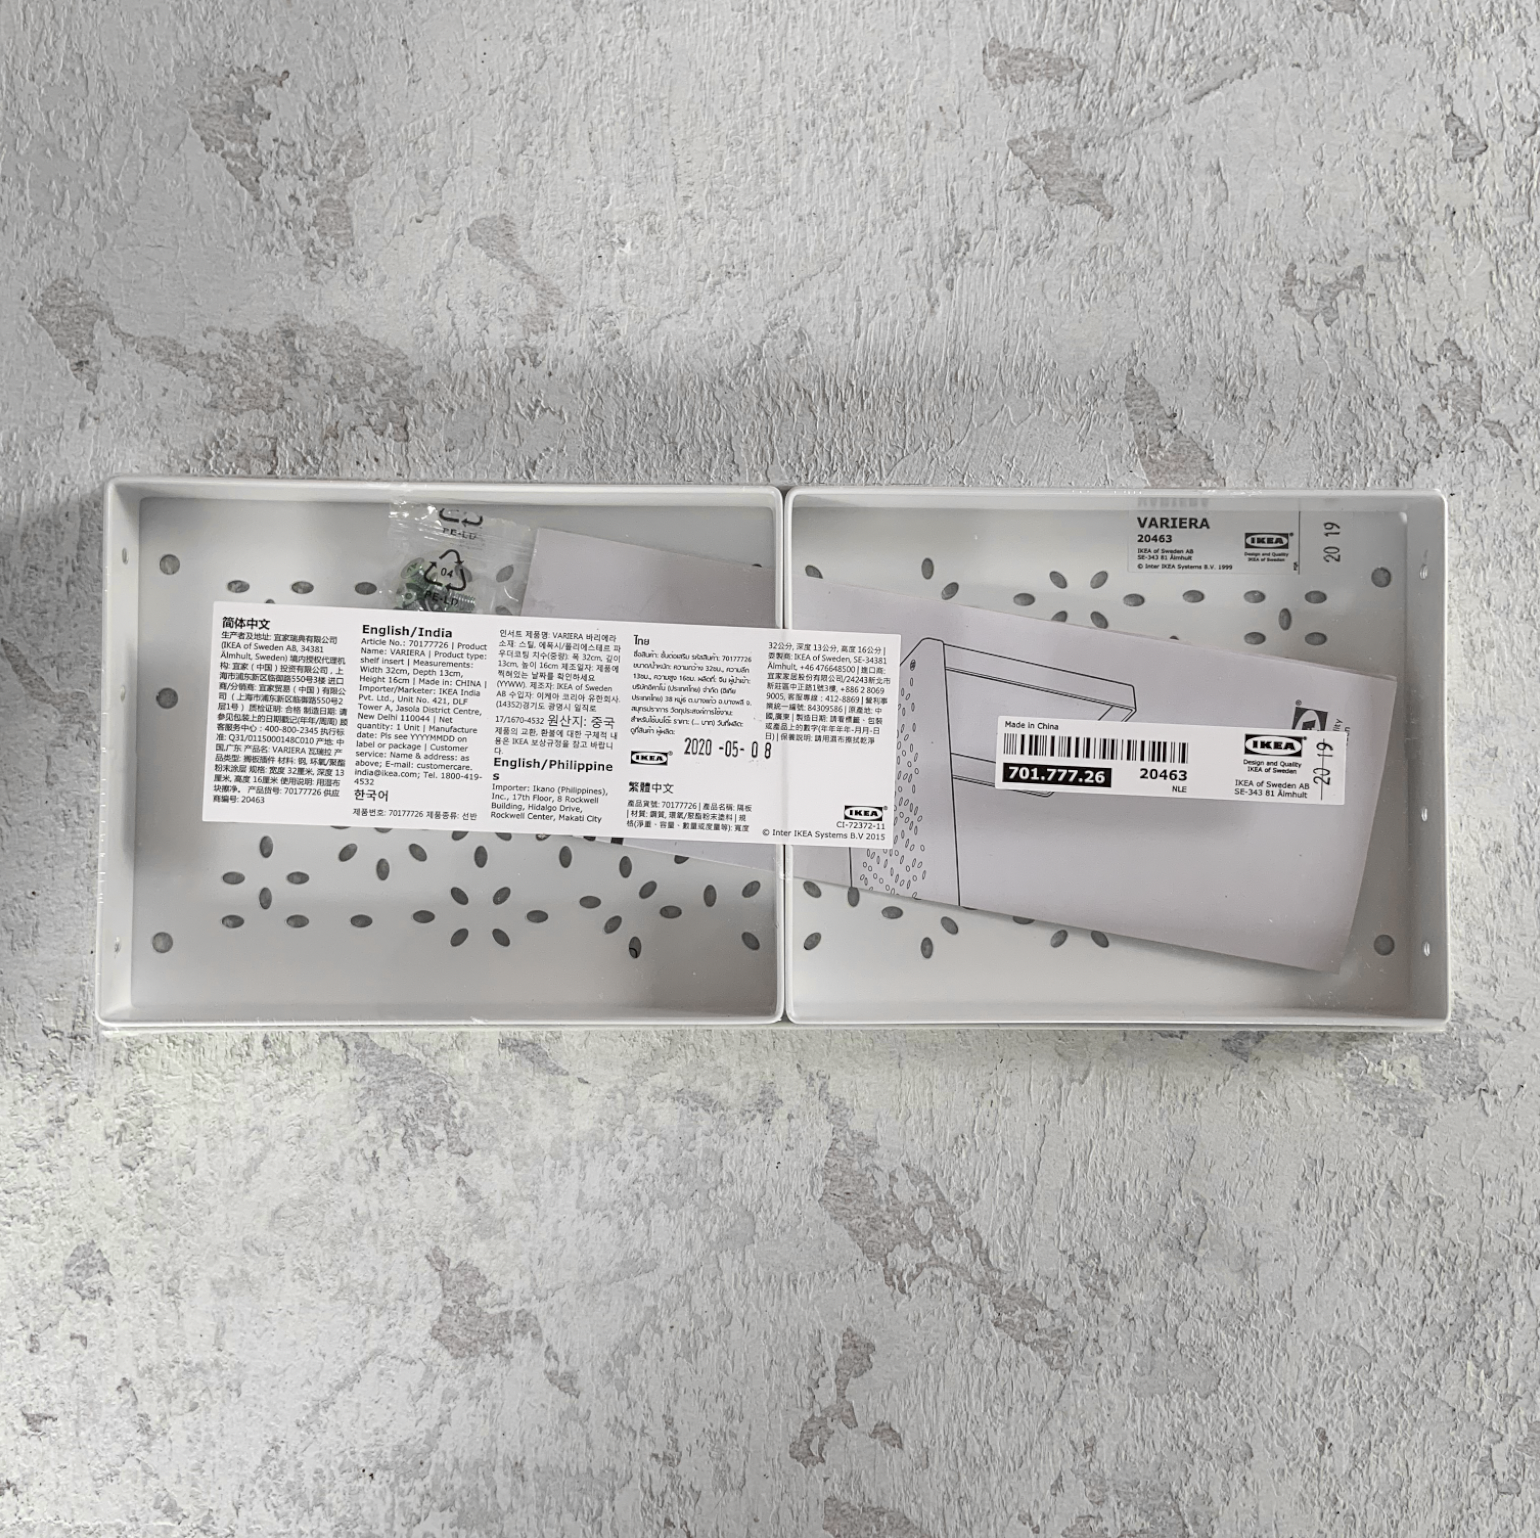
I decided to install 3 x Ikea shelf inserts (linked in products section above) to add some height variation in the shelves.
I zip-tied one to the top shelf in the back right corner.
I zip-tied one underneath (upside down) from the top shelf so that it was in the top left corner above the middle shelf.
And I stood one up at the base of the cabinet in the right-hand corner.
FINAL PRODUCT


If you made it this far in one sitting I’m impressed. I hope you’re able to take away some tips from this post and good luck on your Milsbo adventures!